Categories
Welcome to effortless outdoor cooking! This manual provides detailed instructions for safe and enjoyable use of your portable Coleman RoadTrip grill, ensuring delicious results.
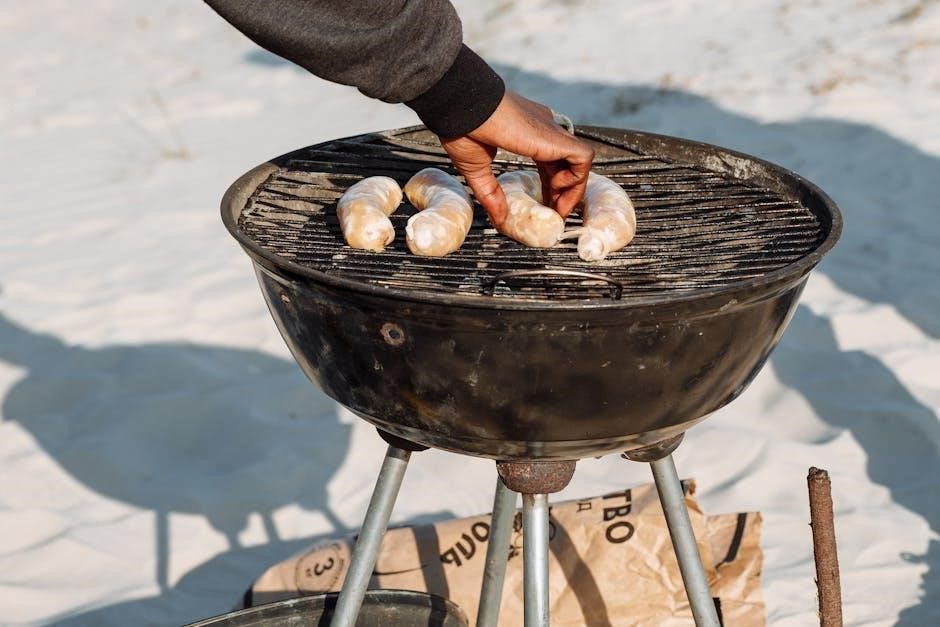
The Coleman RoadTrip Grill is engineered for the adventurer, offering a portable and powerful cooking solution wherever life takes you. This grill seamlessly blends convenience with performance, making it ideal for camping, tailgating, picnics, or simply enjoying a barbecue in your backyard.
Designed with user-friendliness in mind, the RoadTrip Grill boasts a compact, collapsible design for easy transport and storage. Its robust construction ensures durability, while the adjustable burner(s) provide precise temperature control for versatile cooking options. Whether you’re searing steaks, grilling burgers, or simmering delicate sauces, this grill delivers consistent results.
This owner’s manual is your comprehensive guide to unlocking the full potential of your Coleman RoadTrip Grill. We’ll cover everything from initial setup and safety precautions to operating instructions, cleaning procedures, and troubleshooting tips. Read this manual carefully before your first use to ensure a safe and satisfying grilling experience.
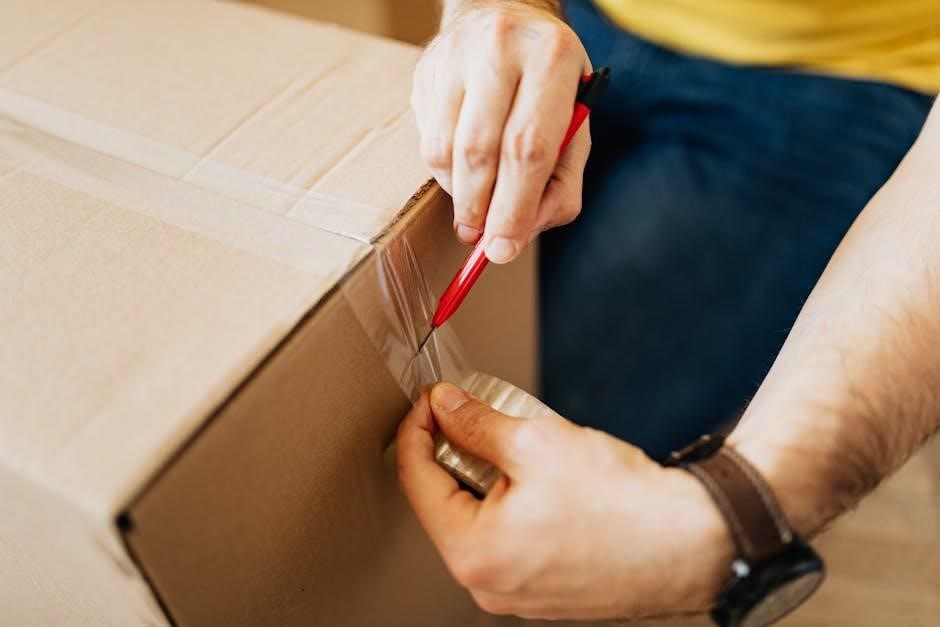
Congratulations on your new Coleman RoadTrip Grill! Let’s get it ready for your first cookout. Carefully remove the grill and all components from the packaging. Inspect for any visible damage that may have occurred during shipping. If damage is present, contact customer support immediately – details are in the warranty section.
Before assembling, take a moment to familiarize yourself with all the parts. Refer to the Parts List Verification section (following) to ensure everything is accounted for. Lay out all components on a protected surface to prevent scratches. The grill typically arrives partially assembled, requiring minimal effort to complete the setup.
The initial setup involves attaching legs, securing the grease tray, and potentially installing the cooking grates or griddle. Follow the Assembling the Grill – Step-by-Step instructions closely. Do not attempt to force any parts; ensure proper alignment before applying pressure.
Ensuring all components are present is crucial before assembly. Carefully compare the contents of your box with the following list. If any parts are missing or damaged, do not proceed – contact Coleman customer support for replacements (see Warranty Information).
Inspect each item for defects. The burner assembly should be free of obstructions. The propane hose should be securely connected to the regulator. The cooking grates/griddle should be clean and undamaged. A complete inventory now will save time and frustration later. Retain the packaging until you’ve confirmed all parts are satisfactory.
Follow these instructions for quick and easy assembly. First, attach the grill legs to the grill body using the provided screws. Ensure they are firmly tightened for stability. Next, slide the grease tray support into its designated slots, then insert the grease tray itself.
Carefully place the cooking grates or griddle onto the grill body. Finally, connect the control panel, ensuring it clicks securely into place. Double-check all connections before proceeding. Do not force any parts. If you encounter resistance, re-examine the instructions. A properly assembled grill is essential for safe and efficient operation.
Prioritize safety during grill operation! Always use the Coleman RoadTrip grill outdoors in a well-ventilated area, away from flammable materials. Never leave a lit grill unattended. Keep children and pets at a safe distance. Inspect the propane hose for cracks or leaks before each use – if damage is detected, replace it immediately.
Wear appropriate heat-resistant gloves when handling hot surfaces. Do not attempt to repair the grill yourself; contact qualified service personnel for assistance. Improper use can result in fire, injury, or property damage. Familiarize yourself with these precautions to ensure a safe grilling experience.
Your safety is paramount! Before operating your Coleman RoadTrip grill, thoroughly read this entire manual. Ensure you understand all warnings and instructions. Only use the grill for its intended purpose – outdoor cooking. Modifications can compromise safety and void the warranty. Never operate the grill on uneven surfaces.
Keep the grill clean and free of grease buildup to prevent flare-ups. Do not store flammable liquids or aerosols near the grill. Be mindful of surrounding conditions, such as wind, which can affect grill performance and safety. Always allow the grill to cool completely before cleaning or storing. Responsible operation ensures a pleasant and secure grilling experience.

Handling propane requires caution! Always use a properly filled and approved propane tank designed for outdoor cooking appliances. Inspect the tank valve for damage before each use – do not connect a damaged tank. Never attempt to repair or modify the tank valve; Store propane tanks upright in a well-ventilated area, away from heat sources and direct sunlight.
When connecting the tank, ensure a tight seal to prevent leaks. If you smell gas, immediately turn off the propane supply and disconnect the tank. Do not use a match or any open flame to locate a leak. A soapy water solution can be used to detect leaks – bubbles indicate a problem. Follow all local regulations regarding propane tank storage and handling.

Safe grill placement is crucial! Position your Coleman RoadTrip grill on a level, non-combustible surface – concrete, gravel, or bare earth are ideal. Maintain a minimum of 3 feet clearance from all combustible materials, including walls, decks, and overhanging branches. Never operate the grill indoors, in garages, or under enclosed areas like tents or awnings.
Adequate ventilation is essential to prevent carbon monoxide poisoning. Ensure sufficient airflow around the grill during operation. Avoid operating the grill in windy conditions, as this can affect burner performance and potentially spread embers. Be mindful of nearby flammable liquids or materials. Always supervise the grill while in use.

Familiarize yourself with your RoadTrip grill! This section details the key parts for optimal performance. The burner assembly, typically one or two stainless steel burners, provides the heat source. Control knobs regulate gas flow to each burner, allowing precise temperature adjustments. The grease management system, consisting of a grease tray and sometimes a funnel, collects drippings, preventing flare-ups and simplifying cleanup.
Your grill features interchangeable cooking surfaces. These include porcelain-coated grates for traditional grill marks and a flat griddle for pancakes, bacon, and other breakfast favorites. Understanding how these components work together will enhance your grilling experience. Regularly inspect each part for wear and tear, ensuring safe and efficient operation.
The heart of your grill lies within the burner assembly. Typically constructed from stainless steel, these burners distribute heat evenly across the cooking surface. Inspect them regularly for blockage – spider webs are a common culprit! – as this can cause uneven heating or a weak flame. The control knobs are directly linked to the burners, controlling the propane flow.
Each knob usually features ‘Off’, ‘Low’, ‘Medium’, and ‘High’ settings. Turning the knob clockwise increases gas flow and heat. Always fully open the valve before lighting. Some models have independent control for each burner, allowing for two-zone cooking – direct heat for searing and indirect heat for slower cooking. Ensure knobs turn smoothly; forced turning indicates a potential issue. Proper burner and knob function are crucial for safe and effective grilling.
A crucial, often overlooked, aspect of grilling is grease management. The Coleman RoadTrip grill incorporates a system designed to channel rendered fats away from the burners, minimizing flare-ups and simplifying cleanup. This typically involves a grease tray or drip pan positioned beneath the cooking surface. Regularly emptying this tray is paramount – accumulated grease is a fire hazard!
Some models feature a removable tray for easy disposal, while others require careful sliding out. Always allow the grill to cool completely before handling the grease tray. Certain designs include a foil liner for even simpler cleanup. Periodically, the grease tray and surrounding components may require a thorough cleaning with warm, soapy water to remove stubborn residue. A well-maintained grease management system ensures safer and more enjoyable grilling experiences.
Your Coleman RoadTrip grill offers versatile cooking options thanks to its interchangeable cooking surfaces. Most models come standard with porcelain-coated cast iron grates, ideal for achieving those classic grill marks and searing meats. These grates retain heat effectively, ensuring even cooking. Some RoadTrip grills also include a griddle insert – a flat, non-stick surface perfect for pancakes, eggs, bacon, and other breakfast favorites, or for stir-fries and fajitas.
Proper seasoning of the cast iron grates is essential to prevent sticking and rust. Regularly cleaning the grates with a grill brush after each use will maintain their performance. The griddle surface typically requires less maintenance but should still be cleaned with a non-abrasive sponge or cloth. Understanding the strengths of each surface allows you to maximize your grilling potential!
Getting started with your Coleman RoadTrip grill is simple! Before each use, ensure the grill is stable on a level surface. This section details the crucial steps for safe and effective operation. First, you’ll need to connect the propane tank securely, checking for any leaks with a soapy water solution. Next, familiarize yourself with the lighting procedure – whether utilizing the manual ignition or the convenient push-button system.
Precise temperature control is key to successful grilling. The control knobs allow you to adjust the burner output, achieving desired heat levels. Start with a lower setting and gradually increase as needed. Remember to preheat the grill for optimal cooking. Always monitor the grill during operation and never leave it unattended. Enjoy the convenience and flavor!
Proper propane tank connection is paramount for safe operation. Begin by ensuring the grill’s control knob is in the “OFF” position. Slowly screw the propane tank’s regulator onto the tank’s valve, turning it clockwise until snug – do not overtighten. A hand-tight connection is sufficient.
Crucially, perform a leak test! Mix a solution of soapy water (dish soap and water) and apply it liberally to the connection point. If bubbles appear, there’s a leak; immediately disconnect the tank and re-check the connection. Never use a match or flame to check for leaks! Only use approved propane tanks designed for outdoor cooking appliances. Ensure the tank is upright during operation and positioned away from direct heat sources. A secure connection guarantees worry-free grilling.
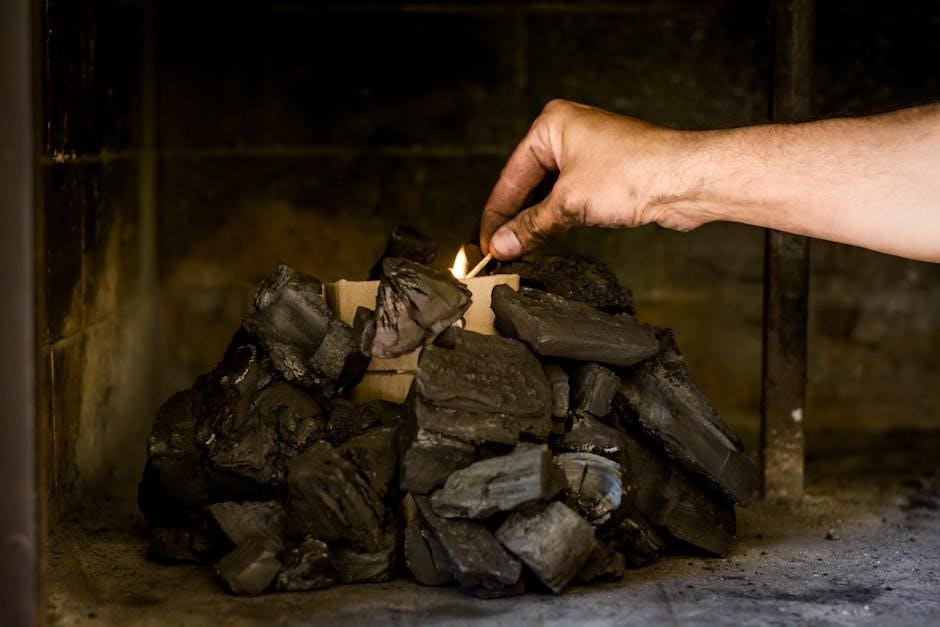
Your RoadTrip grill offers two ignition methods. For push-button ignition, firmly press and hold the ignition button while simultaneously turning the control knob to the “HIGH” position. You should hear a clicking sound and the burner should ignite immediately. If it doesn’t, repeat the process.
For manual lighting, remove the grill grate. Locate the burner access hole and carefully insert a lit long-handled lighter or match through the hole while turning the control knob to “HIGH”. Exercise extreme caution! Once lit, replace the grate. If the burner doesn’t ignite within a few seconds, turn the control knob to “OFF”, wait five minutes for gas to dissipate, and try again. Always observe the flame pattern – a strong, blue flame indicates proper operation.
Achieving the perfect cook relies on precise temperature control. Your RoadTrip grill features control knobs for each burner, allowing independent adjustment. Turning the knob clockwise increases heat, while counterclockwise decreases it. The “HIGH” setting delivers maximum heat, ideal for searing, while “LOW” is perfect for simmering or keeping food warm.
For even cooking, start with all burners on “HIGH” to preheat the grill. Then, adjust the knobs to maintain the desired temperature. Use a meat thermometer to ensure food reaches safe internal temperatures. Remember, cooking times vary based on food thickness and desired doneness. Experiment to find the settings that work best for your favorite recipes. Preheating is crucial for optimal performance and consistent results.
Unlock a world of culinary possibilities with your RoadTrip grill! Mastering basic techniques like direct and indirect heat will elevate your outdoor cooking. Direct heat, using burners directly under the food, is perfect for quick-cooking items like steaks and burgers, creating beautiful sear marks. Indirect heat, with burners on one side and food on the other, mimics oven-like conditions – ideal for roasting chicken or baking potatoes.
Explore diverse recipes! Try grilling juicy chicken breasts (6-8 minutes per side), flavorful salmon fillets (4-5 minutes per side), or classic veggie skewers. For burgers, aim for medium-rare at 135°F, medium at 145°F, and well-done at 160°F. Remember to always use a meat thermometer for accuracy. Experiment with marinades and rubs to personalize your creations!
Understanding heat control is key to grilling success! Direct heat involves placing food directly over the lit burner(s). This method delivers high temperatures – exceeding 500°F – perfect for searing steaks, quickly cooking burgers, and achieving those desirable grill marks. Foods requiring 15 minutes or less generally thrive with direct heat.
Indirect heat utilizes one or more unlit burner(s) to create a cooler zone. Food is positioned away from the direct flame, allowing it to cook more gently, similar to an oven. This technique, maintaining temperatures around 300-400°F, is ideal for larger cuts of meat like roasts, whole chickens, or for slow-cooking delicate items. Think of it as baking on the grill! Utilize both methods for truly versatile cooking.
Achieve perfectly cooked meals with these guidelines! Remember, these are estimates; always use a meat thermometer to verify internal temperature. Burgers (1/2″ thick): Medium-rare – 4-5 minutes per side; Medium – 5-6 minutes per side. Steaks (1″ thick): Medium-rare – 6-8 minutes per side; Medium – 8-10 minutes per side.
Chicken Breasts (boneless, skinless): 6-8 minutes per side. Hot Dogs/Sausages: 5-7 minutes, rotating frequently. Pork Chops (1″ thick): 6-8 minutes per side. Vegetables (skewered): 8-12 minutes, turning occasionally. Adjust cooking times based on desired doneness and grill temperature. Lower temperatures require longer cooking times, while higher temperatures cook food faster. Prioritize food safety!
Maintaining your RoadTrip Grill ensures longevity and optimal performance! Regular cleaning prevents grease buildup and ensures safe operation. Always disconnect the propane tank before any cleaning procedure. Allow the grill to cool completely. Wipe down the exterior with a damp cloth and mild detergent. The grates can be removed and washed with warm, soapy water, or placed in the dishwasher.

Empty the grease tray after each use to prevent flare-ups. Periodically inspect the burner assembly for obstructions. A clean grill is a happy grill! Consistent maintenance will provide years of reliable service and delicious grilled meals. Remember to dry all components thoroughly before reassembly and storage.
Immediate post-grilling cleanup is crucial for easy maintenance! While the grill is still warm (but not hot!), use a grill brush to scrape food residue from the grates. This prevents sticking and makes subsequent cleaning simpler. Carefully empty the grease tray into a disposable container – never pour grease down the drain! Wipe down the exterior surfaces with a damp cloth to remove splatters and spills.
Allow the grill to cool completely before a more thorough cleaning. Inspect the burners for any visible debris. A quick wipe-down after each use significantly reduces the effort required for deep cleaning. Remember safety first – always disconnect the propane tank before any cleaning process begins. Consistent, small efforts yield big results!
For optimal performance, a deep clean is recommended periodically. Begin by completely disconnecting the propane tank. Remove the burners and gently clean the burner ports with a wire brush or pipe cleaner to eliminate any blockages. A clogged burner causes uneven heating. The grease tray requires thorough cleaning; use warm, soapy water and a degreasing agent to remove accumulated grease.
Inspect the grease tray for any damage and replace if necessary. Rinse all components thoroughly and allow them to dry completely before reassembling. Check the venturi tubes for obstructions as well. Ensure proper airflow for safe and efficient operation. Reassemble carefully, verifying all parts are securely in place before reconnecting the propane.
Proper storage extends the life of your Coleman RoadTrip Grill. Before long-term storage, ensure the grill is completely clean, including the burners and grease tray – refer to the deep cleaning section. Disconnect and store the propane tank separately in a well-ventilated, outdoor location, away from heat sources and direct sunlight.
Cover the grill with a fitted, weather-resistant cover to protect it from the elements. Store the grill in a dry, sheltered area, such as a garage or shed. Avoid storing it directly on the ground. Periodically check for any signs of rust or corrosion. If storing for extended periods, consider a light coating of cooking oil on the grates to prevent rusting.
Encountering problems? This section addresses frequent issues with your Coleman RoadTrip Grill. If the grill won’t light, check the propane tank connection and fuel level. Ensure the burner is clean and the igniter is functioning – batteries may need replacing.
Uneven heating often results from blocked burners or uneven propane flow. Clean the burners thoroughly and verify the propane regulator is working correctly. For grease flare-ups, reduce cooking temperature and avoid cooking excessively fatty foods. Regularly empty the grease tray to prevent buildup.
If issues persist, consult the warranty information or contact Coleman customer support for assistance. Never attempt to repair gas components yourself.
Facing ignition difficulties? First, confirm the propane tank is securely connected and contains sufficient fuel. Next, inspect the burner for any obstructions – food particles or debris can prevent ignition. Check the igniter button or knob; ensure fresh batteries are installed if applicable.
If using manual lighting, verify the pilot light opening is clear and follow the lighting instructions carefully. A weak or inconsistent flame suggests a problem with the propane regulator or a partially blocked burner. Try opening and closing the grill lid during ignition to allow for better airflow.

Still no luck? Inspect the igniter wire for damage. If problems continue, consult the broader troubleshooting section or contact Coleman support.
Experiencing hot and cold spots on your grill? Uneven heating often stems from inconsistent burner flame distribution. Begin by ensuring the burner ports are clean and free of obstructions – a thorough cleaning (see Maintenance section) is crucial. Verify the propane tank is at least partially full, as low fuel pressure can cause uneven flames.
Check for wind interference; strong gusts can affect burner performance. Position the grill in a sheltered location or use a windbreak. Ensure food isn’t overcrowded on the cooking surface, as this can restrict heat circulation. Rotate food periodically during cooking to promote even exposure.
Persistent issues? Inspect the burner for damage or warping. A faulty burner may require replacement. Contact Coleman customer support for assistance if the problem persists.
Dealing with sudden flames from dripping grease? Flare-ups are common during grilling, but excessive ones indicate a grease buildup. Regularly empty and clean the grease tray before each use – a full tray significantly increases flare-up risk. Trim excess fat from meats before cooking to minimize dripping.
Avoid cooking excessively fatty foods, or consider using a drip pan beneath the food. If a flare-up occurs, do not attempt to extinguish it with water! Carefully move the food to a cooler part of the grill or temporarily reduce the burner heat.
Ensure proper ventilation around the grill. A buildup of gases can contribute to flare-ups. If flare-ups continue despite these measures, inspect the grease management system for blockages or damage. Contact Coleman support if needed.

Your Coleman RoadTrip Grill is covered by a limited warranty against defects in materials and workmanship. Please retain your purchase receipt as proof of date. The warranty period typically begins from the original purchase date and varies depending on the specific model – consult the separate warranty card included with your grill for precise details.
This warranty does not cover damage resulting from misuse, accidents, or unauthorized modifications. For warranty claims, contact Coleman directly.
Need assistance? Coleman offers comprehensive customer support. Visit our website at www.coleman.com/customer-support for FAQs, troubleshooting guides, and contact information. You can also reach us by phone at 1-800-835-3278. Our dedicated team is ready to help you enjoy your grilling experience!