Categories
Welcome to the Nikon D80’s world! This guide unlocks its potential, offering detailed instructions for both beginners and experienced photographers. Explore its features now!
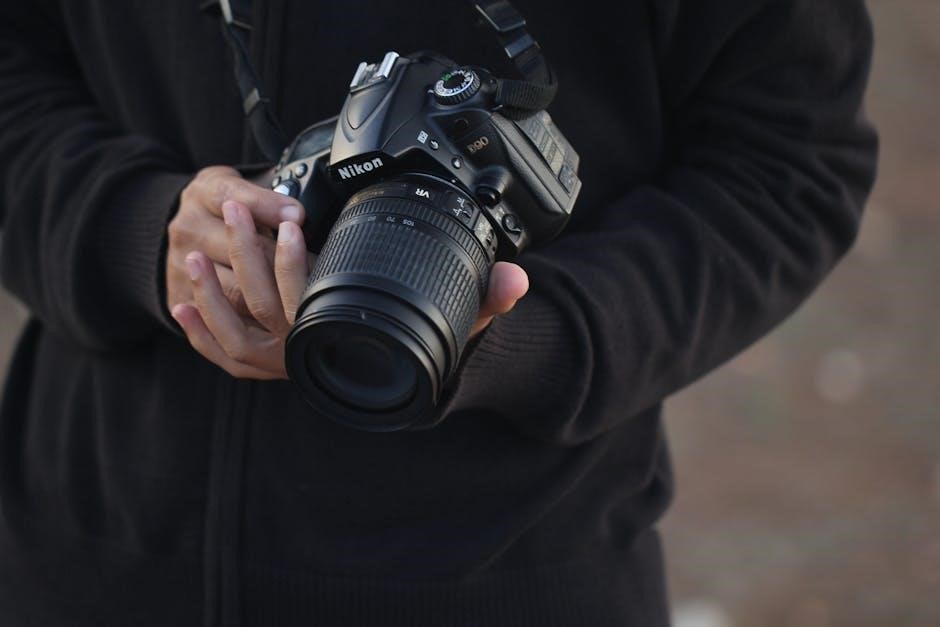
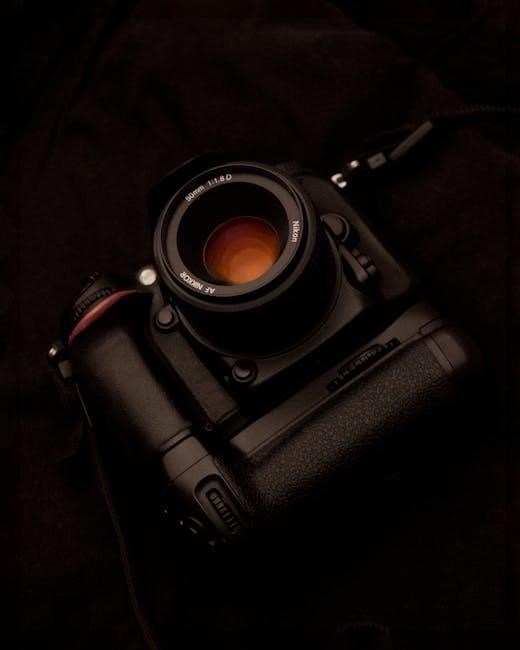
The Nikon D80, released in 2006, represents a significant step up for photographers transitioning from entry-level DSLRs. It boasts a 10.2-megapixel DX Format CMOS sensor, delivering excellent image quality and detail. This camera quickly became popular for its robust build, advanced features, and relatively affordable price point.
Designed for enthusiasts, the D80 offers a comprehensive set of controls and customization options, allowing for a high degree of creative control. It features a 2.5-inch LCD screen for image review and menu navigation, alongside a bright optical viewfinder for composing shots.
This guide aims to provide a thorough understanding of the Nikon D80, covering everything from basic operation to advanced techniques. Whether you’re a seasoned photographer or just starting, this resource will help you unlock the full potential of your camera and capture stunning images. Prepare to delve into the world of digital photography with the capable Nikon D80!
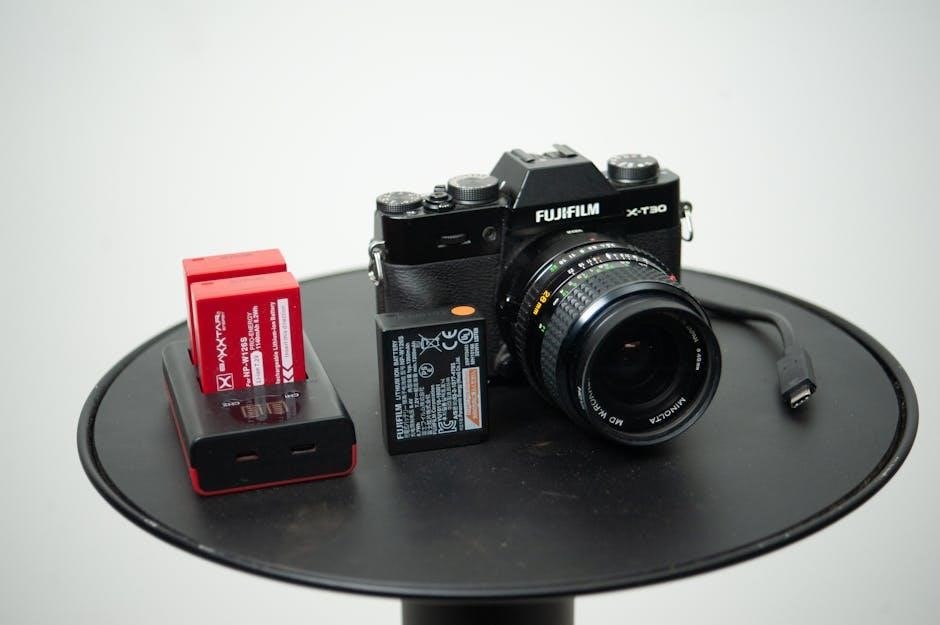
Upon opening your Nikon D80 box, you’ll find the camera body itself, a standard Nikkor 18-135mm lens (typically included in kit versions), a battery, and a battery charger. Also included are a USB cable for transferring images to your computer, a video cable for connecting to a TV, and a strap for comfortable carrying.
Initial setup begins with charging the battery – allow approximately 2 hours for a full charge. Next, insert the battery into the camera and attach the lens, ensuring it clicks securely into place. Power on the camera and follow the on-screen prompts to set the language, date, and time.
Don’t forget to insert a compatible SD memory card to store your photos! Finally, familiarize yourself with attaching the strap for safe handling. Refer to the included documentation for detailed diagrams and troubleshooting tips during this initial configuration process.
Explore the D80’s layout! This section details each button, dial, and port, providing a clear understanding of its physical design and functionality.
The Nikon D80’s front panel houses essential controls for immediate adjustments. Starting on the right, you’ll find the Shutter Release button, responsible for capturing images. Surrounding it is the Main Command Dial, used for adjusting settings like aperture in Aperture Priority mode (A) or shutter speed in Shutter Priority mode (S).
To the left of the shutter release is the Function (Fn) button, which can be customized to quickly access frequently used settings. Below, the Depth-of-Field Preview button allows you to visually assess the depth of field at your chosen aperture. Further left, you’ll locate the AF-Area Mode button, enabling selection of autofocus point configurations.
Finally, the Lens Release button is positioned near the lens mount, allowing for easy lens changes. Understanding these controls is crucial for efficient operation and creative control over your photography. Familiarize yourself with their locations and functions for a smoother shooting experience.
The rear panel of the Nikon D80 is dominated by the large 2.5-inch LCD screen, used for composing shots in Live View, reviewing images, and navigating menus. To the right of the LCD, a cluster of buttons provides key functionality. The Multi-Selector (four-way controller) allows menu navigation and image playback. The central OK button confirms selections.
Below the Multi-Selector are the Menu, Info, and Help buttons, providing access to camera settings, displaying shooting information, and offering contextual assistance. To the left of the LCD, you’ll find the Playback button for reviewing captured images and videos. Above it sits the White Balance button for adjusting color temperature.
The Quality button controls image resolution and file format. Finally, the Live View button activates Live View shooting. Mastering these controls allows for efficient menu navigation, quick setting adjustments, and comprehensive image review.
The Nikon D80’s top panel houses the essential controls for shooting. Centrally located is the Mode Dial, allowing quick selection of shooting modes – Auto, Program (P), Shutter-Priority (S), Aperture-Priority (A), Manual (M), and Scene modes. A locking mechanism prevents accidental mode changes.
To the right of the Mode Dial is the Main Command Dial, used for adjusting settings like aperture, shutter speed, and exposure compensation, depending on the selected shooting mode. Directly in front of the dial is the Shutter Release button, initiating the image capture process. A gentle half-press activates autofocus and metering.
Further to the right, the Metering Mode button allows selection of Matrix, Center-Weighted, or Spot metering. Adjacent to this is the Exposure Compensation button, used to fine-tune exposure in automatic and semi-automatic modes. Understanding these controls is crucial for achieving desired photographic results.
The Nikon D80’s optical viewfinder provides a clear, bright view of your scene. Approximately 95% coverage is displayed, meaning what you see isn’t exactly what the sensor captures – be mindful of edges! Within the viewfinder, you’ll find crucial shooting information.
Focus points are displayed, indicating where the camera is attempting to achieve focus. These illuminate when autofocus is active. Exposure indicators show the selected aperture, shutter speed, and exposure compensation. A metering scale displays the camera’s assessment of the exposure, helping you avoid over or underexposure.
Additionally, you’ll see indicators for flash readiness, white balance, image quality (JPEG/RAW), and shooting mode. A diopter adjustment dial allows you to fine-tune the viewfinder for your eyesight, ensuring a sharp, clear view without glasses if possible. Familiarize yourself with these elements for precise control.

Mastering these settings is key! Explore shooting modes, focus options, metering, white balance, and ISO to unlock the D80’s full photographic capabilities.
The Nikon D80 offers a versatile range of shooting modes, catering to various skill levels and photographic situations. Auto mode simplifies operation, letting the camera handle all settings – ideal for beginners.
Program (P) mode allows the camera to select aperture and shutter speed, while you retain control over ISO, white balance, and other settings. Shutter-Priority (S) mode lets you choose the shutter speed, crucial for capturing motion, with the camera adjusting the aperture accordingly.
Aperture-Priority (A) mode gives you control over the aperture, influencing depth of field, while the camera sets the shutter speed. Finally, Manual (M) mode provides complete creative control, requiring you to set both aperture and shutter speed independently. Experiment with each mode to understand how they impact your images and develop your photographic style. Understanding these modes is fundamental to maximizing the D80’s potential.
The Nikon D80 provides four distinct focus modes to suit different subjects and shooting scenarios. AF-S (Single Servo AF) is best for stationary subjects; the camera focuses once when you half-press the shutter button.
AF-C (Continuous Servo AF) is designed for moving subjects, continuously adjusting focus as they change distance. AF-A (Auto Servo AF) automatically switches between AF-S and AF-C, attempting to determine the subject’s movement – useful for unpredictable situations.
For precise control, especially in challenging conditions, utilize Manual Focus (M). This allows you to adjust focus directly using the focusing ring on the lens. Selecting the appropriate focus mode is crucial for achieving sharp, well-focused images. Practice switching between these modes to master the D80’s focusing capabilities and ensure your subjects are always in crisp detail.
The Nikon D80 offers three metering modes to help determine the correct exposure for your photographs. Matrix metering (also known as evaluative metering) analyzes the entire scene to calculate an average exposure – ideal for general photography.
Center-weighted metering places greater emphasis on the center of the frame when determining exposure, useful when your primary subject is centrally located. This mode is beneficial for portraits or subjects against varying backgrounds.
For precise exposure control in challenging lighting, use Spot metering. This mode measures light from a very small area of the frame, allowing you to expose accurately for a specific subject, regardless of the surrounding brightness. Understanding these modes and when to use them is key to consistently achieving well-exposed images with your D80.
White balance (WB) is crucial for accurate color rendition in your photos. The Nikon D80 offers several preset WB options, including Auto, Incandescent, Fluorescent, Direct Sunlight, Cloudy, and Shade. Auto WB attempts to determine the correct color temperature automatically, but isn’t always perfect.
For more control, select a preset that matches your lighting conditions. If none are suitable, use the Custom WB function. This allows you to manually set the white balance by photographing a white or gray card under the current lighting.
Incorrect white balance results in color casts – images appearing too warm (orange) or too cool (blue). Experiment with different settings to achieve natural-looking colors. You can also adjust WB in post-processing, but setting it correctly in-camera yields the best results. Remember to shoot in RAW for maximum flexibility!
ISO controls your Nikon D80’s sensitivity to light. Lower ISO values (e.g., 100, 200) produce cleaner images with less noise, ideal for bright conditions. Higher ISO values (e.g., 800, 1600, 3200) allow shooting in low light, but introduce more digital noise – graininess that degrades image quality.
The D80’s native ISO range is 100-3200. Generally, keep the ISO as low as possible to maintain image quality. Use higher ISOs only when necessary to achieve a proper exposure.
Experiment to find the highest ISO setting you’re comfortable with, balancing brightness and noise. The ISO Auto setting lets the camera choose the ISO, within a user-defined range. Be mindful of noise reduction settings in the camera menu, as they can soften details alongside reducing noise.
Capture stunning images! Explore resolution options and choose between JPEG for convenience or RAW (NEF) for maximum editing flexibility with your D80.
The Nikon D80 offers a variety of image size and resolution settings, directly impacting the level of detail captured in your photographs. Understanding these options is crucial for achieving optimal results based on your intended use. The D80 boasts a 10.2-megapixel sensor, allowing for images up to 3,872 x 2,592 pixels.

Larger image sizes, utilizing more pixels, provide greater detail and are ideal for large prints or significant cropping. However, they also result in larger file sizes, consuming more memory card space. Smaller image sizes are suitable for web use or situations where storage space is limited.
Within the camera menu, you can select from Large, Medium, and Small image sizes. Each size corresponds to a different pixel count. Experimenting with these settings will help you find the perfect balance between image quality and file size for your specific needs. Remember, once an image is captured, you cannot increase its resolution!
The Nikon D80 allows you to save images in two primary file formats: JPEG and RAW (NEF). JPEG is a compressed format, offering smaller file sizes and immediate usability. It’s convenient for sharing and quick editing, but compression discards some image data, potentially reducing quality.
RAW (NEF), on the other hand, captures all the data recorded by the sensor, providing maximum flexibility in post-processing. This allows for extensive adjustments to exposure, white balance, and other settings without significant quality loss. However, RAW files are considerably larger than JPEGs and require dedicated software for editing.
Choosing between the two depends on your workflow. If you prioritize convenience and immediate results, JPEG is suitable. If you desire maximum control and image quality, especially for critical work or challenging lighting conditions, RAW is the preferred choice. You can even shoot both formats simultaneously!
Picture Control is a powerful feature on the Nikon D80 allowing you to tailor the look of your JPEGs directly in-camera. Instead of extensive post-processing, you can pre-define your desired aesthetic. The D80 offers several presets: Standard (balanced), Neutral (flat, for editing), Vivid (enhanced colors), Monochrome (black and white), and Portrait (soft skin tones).
Beyond these presets, you can customize each Picture Control by adjusting parameters like sharpness, contrast, brightness, saturation, and hue. This allows for a truly personalized image style. These settings only affect JPEG files; RAW files remain untouched, preserving all original data.
Experiment with different Picture Controls and custom settings to find what best suits your shooting style and subject matter. Saving your custom settings allows for quick recall, streamlining your workflow and ensuring consistent results. Don’t be afraid to explore!

Unlock the D80’s full potential! Explore flash options, custom settings, Live View, and histogram understanding for truly creative and controlled photography.
The Nikon D80 offers versatile flash capabilities, starting with its integrated pop-up flash. Access flash settings via the menu – choose from Auto, Auto with Red-Eye Reduction, Fill-Flash, Slow Sync, and Manual. For greater control, explore external flash units compatible with the D80’s hot shoe.
External flashes provide increased power, adjustable angles, and advanced features like TTL (Through-The-Lens) metering for accurate exposure. The D80 supports Nikon’s Creative Lighting System (CLS), enabling wireless flash control with compatible units. Learn to adjust flash compensation to fine-tune brightness and utilize flash modes like rear-curtain sync for creative effects.
Remember to consider bounce flash – directing the flash head towards a ceiling or wall – for softer, more natural-looking illumination. Experiment with different flash settings and modifiers to master lighting and elevate your photography. Understanding flash synchronization speed is also crucial to avoid dark bands in your images.
The Nikon D80’s Custom Functions menu (found within the Setup menu) allows you to tailor the camera’s operation to your shooting style. There are 10 categories, each containing several customizable settings. These functions affect everything from autofocus behavior and metering to button assignments and display settings.
For example, you can customize the ‘AE-L/AF-L’ button to lock either auto-exposure, autofocus, or both. Adjust the viewfinder display to show specific shooting information. Modify the self-timer duration or enable/disable the shutter release button half-press autofocus function.
Experimenting with these settings is key to optimizing the D80 for your needs. Carefully review each function’s description in the manual before making changes. Creating a personalized setup can significantly improve your workflow and shooting efficiency. Don’t be afraid to reset to defaults if you get lost – a factory reset is always an option!
The Nikon D80 introduced Live View, allowing you to compose and review images on the rear LCD screen. This is incredibly useful for precise composition, especially in challenging angles or when using a tripod. It also aids in manual focusing, offering magnification for critical sharpness.
However, Live View on the D80 has limitations. Autofocus speed is significantly slower than using the viewfinder’s autofocus system. The sensor heats up more quickly in Live View, potentially limiting continuous shooting duration. Battery life is also reduced.
To activate Live View, press the Live View button on the rear panel. You can switch between tripod and handheld modes, affecting autofocus performance. Remember that the D80’s Live View isn’t as advanced as later Nikon models, so consider its drawbacks when choosing your shooting method.
Histograms are graphical representations of tonal distribution in your images, crucial for accurate exposure. The Nikon D80 displays a histogram after each shot. The horizontal axis represents tonal values, from black (left) to white (right). The vertical axis shows the number of pixels at each tone.
A histogram skewed to the left indicates an underexposed image – too many dark tones, lacking detail in shadows. A histogram skewed to the right suggests overexposure – too many bright tones, losing detail in highlights. An ideal histogram generally spans the entire range, showing a balanced distribution.
Use the histogram to avoid clipping – where tones are pushed to pure black or white, losing all detail. Adjust your exposure compensation or shooting settings based on the histogram’s shape. Learning to ‘read’ histograms is a fundamental skill for achieving consistently well-exposed photographs with your D80.

Keep your Nikon D80 performing optimally! This section covers essential care, battery tips, and solutions to common problems you might encounter during use;
Dust on your Nikon D80’s sensor is inevitable, especially with lens changes. Regularly inspect images for dark spots, indicating sensor dust. Nikon recommends using a blower to dislodge loose particles first – never blow directly with your mouth!
If blowing isn’t enough, utilize a sensor cleaning kit. These typically include sensor swabs and cleaning fluid specifically designed for camera sensors. Follow the kit’s instructions meticulously. Gently swipe the sensor in a single, smooth motion, avoiding excessive pressure.
Important: Lock up the mirror in ‘Sensor Cleaning’ mode (found in the Setup menu) before cleaning. Avoid cleaning the sensor if you’re uncomfortable; professional cleaning is available. Improper cleaning can damage the sensor coating. Always handle swabs with care and use a fresh swab for each pass. Regular preventative maintenance minimizes the need for aggressive cleaning.
The Nikon D80 utilizes the EN-EL3e battery. Battery life varies significantly based on usage – frequent Live View, flash, and image review drain power faster. Expect around 600 shots on a full charge under typical conditions. Always have a spare battery charged and ready, especially for extended shoots.
Charging is done using the MH-18a charger (or compatible charger). Insert the battery correctly, ensuring proper contact. The charger’s LED indicates charging status: red for charging, green for complete. Avoid overcharging; disconnect the charger once fully charged.
To maximize battery life: disable auto image review, use the optical viewfinder instead of Live View when possible, and turn off the camera when not in use. Store batteries in a cool, dry place. Avoid extreme temperatures. Periodically fully discharge and recharge the battery to maintain its capacity.
“Error Message” on LCD: Often resolved by turning the camera off and on again, or re-inserting the battery and memory card. Check the card for write-protection.
Camera won’t turn on: Ensure the battery is fully charged and correctly inserted. Try a different battery if possible. Check the battery contacts for corrosion.
Blurry Images: Verify sufficient light, proper focus (check focus mode!), and a stable shooting position. Use a faster shutter speed to combat camera shake. Clean the lens!
Slow Autofocus: Ensure you’re using the appropriate AF mode for your subject (AF-S for static, AF-C for moving). Check lens compatibility.
If problems persist, consult the full Nikon D80 manual or Nikon’s support website. Resetting the camera to factory defaults (via the setup menu) can sometimes resolve software glitches, but will erase custom settings.