Categories
Welcome! This detailed manual provides essential guidance for installing, programming, maintaining, and troubleshooting your Wayne Dalton garage door opener system effectively and safely.
Wayne Dalton has been a trusted name in garage door solutions for decades, renowned for innovation, durability, and reliable performance. Their garage door openers are engineered to provide secure, convenient access to your home, enhancing both its functionality and aesthetic appeal.
This manual serves as a comprehensive resource for all Wayne Dalton garage door opener owners, regardless of their technical expertise. Whether you’re a homeowner tackling a new installation, a seasoned DIY enthusiast performing routine maintenance, or simply seeking to understand your opener’s features, this guide will provide clear, concise instructions.
Wayne Dalton offers a diverse range of openers, including chain drive, belt drive, and direct drive models, each designed to meet specific needs and preferences. Understanding your particular model is crucial for proper operation and maintenance, and this manual will assist you in identifying its unique characteristics.
Prioritizing safety is paramount when working with garage door openers. These powerful systems involve high-tension springs and moving parts that can pose serious risks if handled improperly. Always disconnect power to the opener at the circuit breaker before performing any maintenance or repairs.
Never attempt to adjust or repair the springs themselves; these should only be serviced by a qualified professional. Keep children and pets away from the garage door area during operation and maintenance. Regularly test the safety reversal system to ensure it’s functioning correctly – this feature is crucial for preventing injuries.
Failure to follow these safety guidelines could result in severe injury or property damage. Read and understand all warnings and instructions in this manual before operating or servicing your Wayne Dalton garage door opener. Ignoring safety precautions can void your warranty and compromise the system’s reliability.
Always maintain a clear workspace around the garage door and opener unit. Remove any obstructions that could interfere with the door’s movement or access to the opener. Never operate the door if it’s damaged or malfunctioning – immediately address any issues before use.
Regularly inspect the door tracks for bends or obstructions, and ensure the rollers are moving freely. Do not allow anyone to climb on or hang from the garage door. The door is not designed to support weight and could be damaged or cause injury; Keep the area well-lit during maintenance and repairs.
Ensure all safety labels are clean and visible on the opener and door. Familiarize yourself with the emergency release mechanism and how to use it in case of power failure. Never modify the opener or its components without consulting a qualified technician. Adhering to these rules promotes safe operation.
Disconnect the power supply to the opener before commencing any installation or repair work. Electrical shock hazards are present when working with electrical components. Never attempt repairs beyond your skill level; consult a qualified technician for complex issues.
Always use appropriate safety glasses and gloves during installation and maintenance. Support the garage door securely with clamps or a ladder before disconnecting the opener to prevent sudden drops. Do not work alone; have someone nearby in case of an emergency.
Be cautious when handling springs, as they are under high tension and can cause serious injury if mishandled. Ensure all fasteners are tightened to the manufacturer’s specifications. Improper installation can lead to malfunction and potential safety hazards. Follow all local building codes and regulations during installation.
Familiarizing yourself with your specific Wayne Dalton garage door opener model is crucial for proper operation and maintenance. Wayne Dalton offers a diverse range of openers, each with unique features and capabilities. This section will guide you through identifying your model and understanding its key components.
Different models may include features like belt drive, chain drive, or screw drive systems, each impacting noise levels and performance. Understanding these differences will help you troubleshoot issues and perform maintenance effectively. Refer to the model number for accurate information regarding specifications and compatible accessories.
Knowing the function of each component – from the motor unit and rail to the safety sensors and logic board – empowers you to address minor issues and determine when professional assistance is needed. Detailed diagrams are often available online using your model number.
Locating your Wayne Dalton garage door opener’s model number is the first step towards accessing specific information, parts lists, and troubleshooting guides. The model number is a unique identifier that distinguishes your opener from others. Typically, you’ll find it on a sticker or label affixed to the opener’s motor unit.
Carefully inspect the sides, top, and back of the motor unit. The label is usually white or silver and clearly displays the model number alongside other important details like serial number and manufacturing date. Sometimes, the label is located inside the light cover.
If you’re unable to find the label on the motor unit, consult your original purchase documentation or the area where the opener was initially installed. Having the model number readily available will significantly streamline any support requests or parts ordering processes. Record this number for future reference!
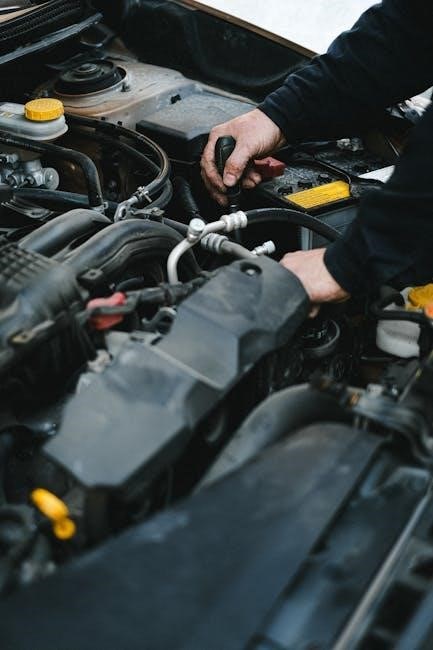
Understanding the core components of your Wayne Dalton garage door opener is crucial for maintenance and troubleshooting. The motor unit provides the power to lift and lower the door. The rail connects the motor to the door, guiding its movement. The trolley, attached to the rail, physically moves the door.

Safety sensors, positioned near the floor, prevent the door from closing on obstructions. The logic board controls the opener’s functions, interpreting signals from remotes and keypads. The limit switches define the door’s open and closed positions.
The remote control allows for convenient operation, while the keypad offers access via a PIN code. Finally, the emergency release cord disengages the trolley for manual operation. Familiarizing yourself with these parts ensures effective operation and safe maintenance of your system.
Before beginning installation, carefully review all safety precautions. Ensure the garage door is balanced and moves freely before attaching the opener. First, assemble the rail sections according to the diagrams, securely fastening them together. Mount the motor unit to the ceiling, utilizing appropriate hardware for your ceiling type – wood or steel.
Next, attach the rail to the motor unit, ensuring proper alignment. Connect the trolley to the door arm and adjust the arm’s length for smooth operation. Carefully wire the motor unit, following the provided wiring diagram, and connect it to a grounded power outlet. Finally, test the opener’s functionality and adjust the travel limits.
Professional installation is recommended if you are uncomfortable with any step. Incorrect installation can lead to damage or injury.
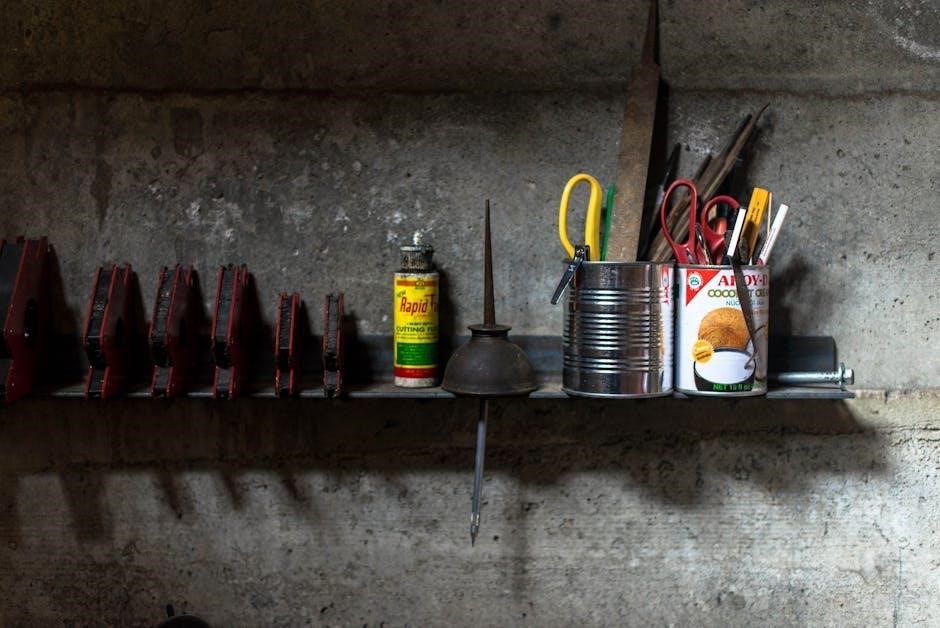
To successfully install your Wayne Dalton garage door opener, you’ll need a specific set of tools. A sturdy ladder is essential for reaching the ceiling safely. You’ll require a socket wrench set, including various sizes, for tightening bolts and nuts. A Phillips head and flathead screwdriver are crucial for various screw types.
Additionally, a drill with assorted drill bits will be needed for mounting brackets. A level ensures the opener is installed straight, preventing operational issues. Wire strippers and a wire connector are vital for safe electrical connections. Don’t forget safety glasses to protect your eyes from debris and work gloves for a secure grip.
A measuring tape helps with accurate positioning, and a pencil is useful for marking locations. Having a helper can significantly ease the installation process, especially when lifting the motor unit.
Begin by disconnecting the garage door from the opener, if one exists. Assemble the rail sections, ensuring secure connections, and attach the rail to the header bracket. Carefully lift the opener unit and position it onto the assembled rail. Securely bolt the opener to the header bracket, ensuring it’s level and stable.
Next, install the safety sensors near the floor on both sides of the door. Connect the sensor wires to the opener unit. Attach the door bracket to the top section of your garage door. Connect the door arm to both the door bracket and the opener’s trolley. Finally, carefully connect the power cord to a grounded outlet and proceed with programming, as detailed in the following section.
To program a Wayne Dalton remote, locate the “Learn” or “Program” button on the opener unit – it’s typically yellow or orange. Press and release this button. Within 30 seconds, press and hold the desired button on your remote until the garage door opener light flashes, indicating successful programming. Repeat for additional remotes.
For keypad programming, enter the master code (usually found on a sticker near the opener or in previous documentation). Then, press the “Program” button on the keypad. Enter a new four-digit code. Press “Enter” or the checkmark button to save. Verify the new code by entering it to confirm operation. Refer to your specific model’s instructions for variations.
Initiating remote programming requires accessing the “Learn” button on your Wayne Dalton garage door opener motor unit. This button, often yellow or orange, activates the receiver for new remote codes. Press and quickly release the “Learn” button; the opener light will illuminate, signaling it’s in programming mode.
Within the 30-second window, press and hold the button on your remote control that you wish to program. Continue holding the button until the garage door opener light flashes or the door begins to move – this confirms successful synchronization. Repeat this process for each additional remote you intend to pair with the system. Note: Some models may require multiple presses.
To program your Wayne Dalton keypad, begin by entering a temporary four-digit code, typically “0000”, followed by the “Enter” button. The keypad light should illuminate, indicating it’s ready for programming. Next, press the “Learn” button on the garage door opener motor unit – remember, it’s usually yellow or orange – and quickly return to the keypad.
Within the allotted time (usually 30 seconds), enter your desired four-digit personal code, then press “Enter” to save it. The keypad light will confirm successful programming. Test the code to ensure functionality. Important: Choose a code not easily guessed and avoid sequential numbers. To erase all codes, enter “0000” and press “Enter” twice.
Encountering problems with your Wayne Dalton opener? This section addresses frequent concerns. First, verify the power supply – check the circuit breaker and outlet. If the door doesn’t respond, ensure the antenna is properly connected and free from obstructions. For safety reasons, always disconnect the opener before manually operating the door.
Common issues include the door reversing unexpectedly, often due to sensitivity adjustments needing recalibration. A clicking sound might indicate a limit switch problem. Remember to consult the specific error codes displayed on some models for quicker diagnosis. If issues persist after these checks, or if you’re uncomfortable performing repairs, contact a qualified technician for assistance.
If your door fails to open or close, begin with basic checks. Confirm the remote battery isn’t depleted and the wall-mounted button functions correctly. Inspect the photo-eyes – ensure they are aligned and free of debris, as these are crucial safety sensors. A misaligned or dirty sensor prevents operation.
Next, check for obstructions in the door’s path. Even a small object can trigger the safety system. Verify the door isn’t manually locked. If the opener seems to strain, the springs may require adjustment – do not attempt this yourself; contact a professional. Finally, examine the travel limits; incorrect settings can prevent full operation.
When your Wayne Dalton remote control fails to operate, the first step is to replace the battery. Ensure the battery is inserted with the correct polarity. If a new battery doesn’t resolve the issue, attempt to reprogram the remote to the opener – refer to the ‘Programming Your Remote’ section for detailed instructions.
Consider interference. Other devices emitting radio frequencies can sometimes disrupt the signal. Try operating the remote closer to the garage door opener unit. If multiple remotes are affected, the receiver within the opener might be faulty. Check for any physical damage to the remote itself. If problems persist after these checks, contact customer support for further assistance.
Unusual sounds from your Wayne Dalton opener often indicate a need for maintenance or potential repairs. Grinding noises could suggest worn gears within the opener unit – professional servicing is recommended in this case. Squeaking sounds frequently point to a lack of lubrication on moving parts; refer to the ‘Maintenance & Lubrication’ section.
Clicking sounds might indicate issues with the limit switches or safety sensors. Humming without movement could mean a problem with the motor capacitor. If the noise is a loud bang, immediately disconnect the opener and inspect the door’s balance – a broken spring is a serious safety hazard. Always prioritize safety and consult a qualified technician if you’re unsure.

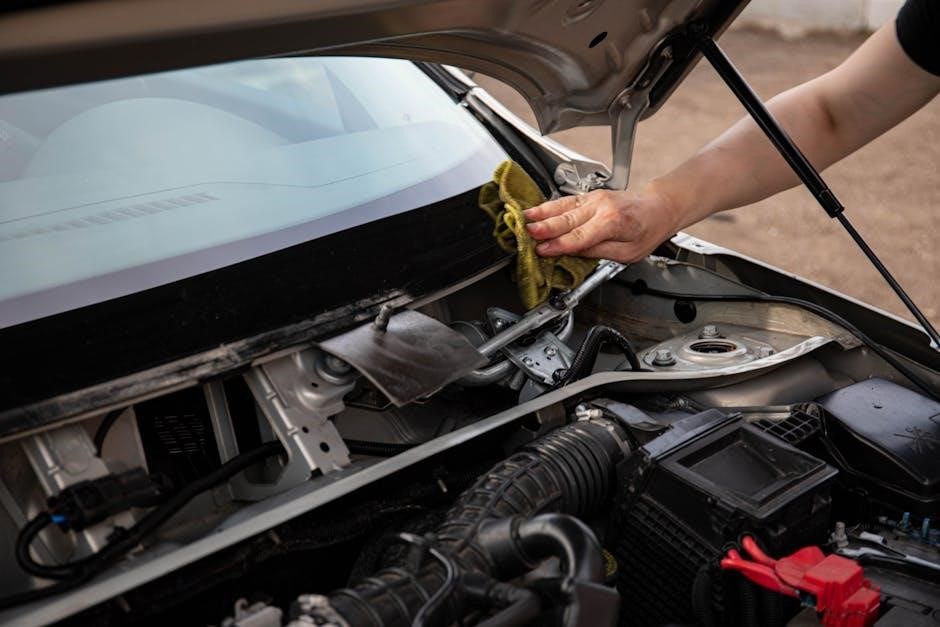
Regular maintenance extends the life of your Wayne Dalton garage door opener and ensures smooth, reliable operation. A consistent schedule prevents costly repairs and maintains safety features. Inspect the entire system – door, tracks, springs, and opener – at least twice yearly.
Lubrication is crucial. Use a silicone-based lubricant specifically designed for garage doors; avoid grease, which attracts dirt. Apply lubricant to the door hinges, rollers, and tracks. The opener’s chain or belt also benefits from occasional lubrication. Never lubricate the opener’s motor or the safety sensors. Tighten all bolts and screws, and visually check for wear and tear on all components;
Bi-Annual Inspection (Spring & Fall): Conduct a thorough visual inspection of the entire garage door system. Check for loose hardware, frayed cables, and damaged rollers. Test the auto-reverse function and safety sensors. Lubricate all moving parts as detailed in the lubrication section.
Monthly Check: Briefly inspect the door’s balance by manually lifting it halfway. It should stay in place without significant effort. Listen for unusual noises during operation, indicating potential issues. Quarterly: Examine the weather stripping for damage and replace if needed to maintain a proper seal. Annually: Consider a professional inspection and tune-up for a comprehensive assessment and preventative maintenance.
Key Lubrication Areas: Apply lubricant to the door hinges, rollers, tracks, and the opener’s chain or screw drive (depending on your model); Avoid lubricating the tracks’ sensing areas for safety sensors. Recommended Lubricants: Use a white lithium grease or a silicone-based lubricant specifically designed for garage doors. Do not use WD-40, as it attracts dust and can cause issues.
Application Tips: Apply sparingly; excess lubricant attracts dirt. Wipe away any excess. Regularly lubricating these components ensures smooth operation, reduces noise, and extends the lifespan of your Wayne Dalton garage door system. Inspect and reapply lubricant every six months, or more frequently in harsh climates.
Battery Type: Your Wayne Dalton remote typically uses a CR2032 battery. Check your remote’s existing battery for the correct type before purchasing a replacement. Accessing the Battery: Most remotes have a sliding cover or a small slot for opening the battery compartment – consult your specific remote model’s diagram.
Replacement Procedure: Gently pry open the compartment and remove the old battery, noting the positive (+) and negative (-) orientation. Insert the new battery with the correct polarity. Securely close the battery compartment. Test the remote to confirm functionality. Dispose of the old battery responsibly at a designated recycling location. A fresh battery restores reliable operation.
When to Reset: Resetting your Wayne Dalton opener to factory settings is useful when experiencing persistent programming issues, preparing the opener for a new user, or resolving security concerns. Procedure: Locate the “Learn” or “Reset” button on the opener unit – its location varies by model.
Initiating the Reset: Press and hold the button for approximately 10-15 seconds, until the indicator light begins to flash rapidly. This indicates the memory has been cleared. You will then need to reprogram all remotes and keypads. Refer to the “Programming Your Remote & Keypad” section for detailed instructions. Note: Resetting erases all existing settings, requiring complete re-configuration.