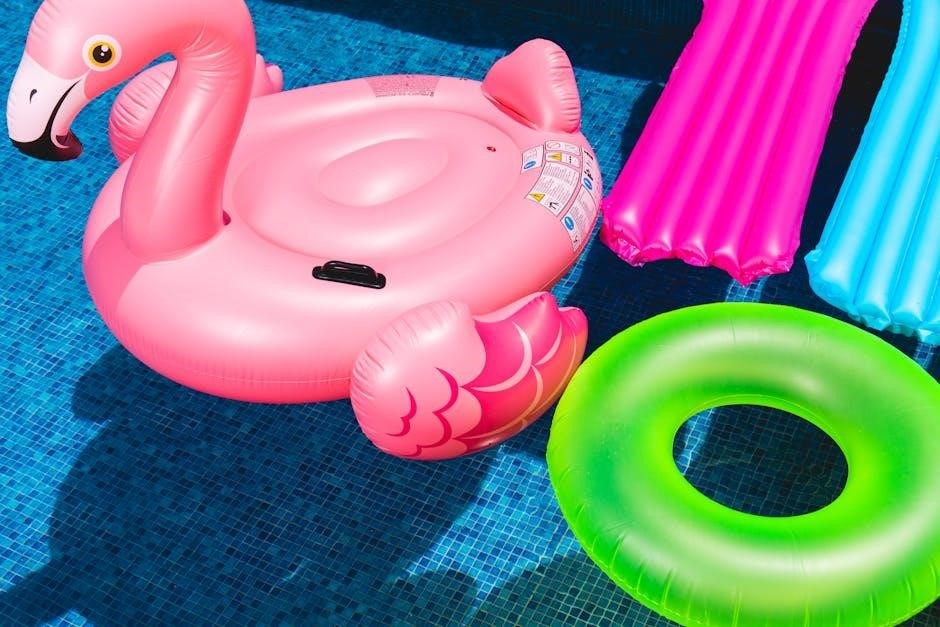
Categories

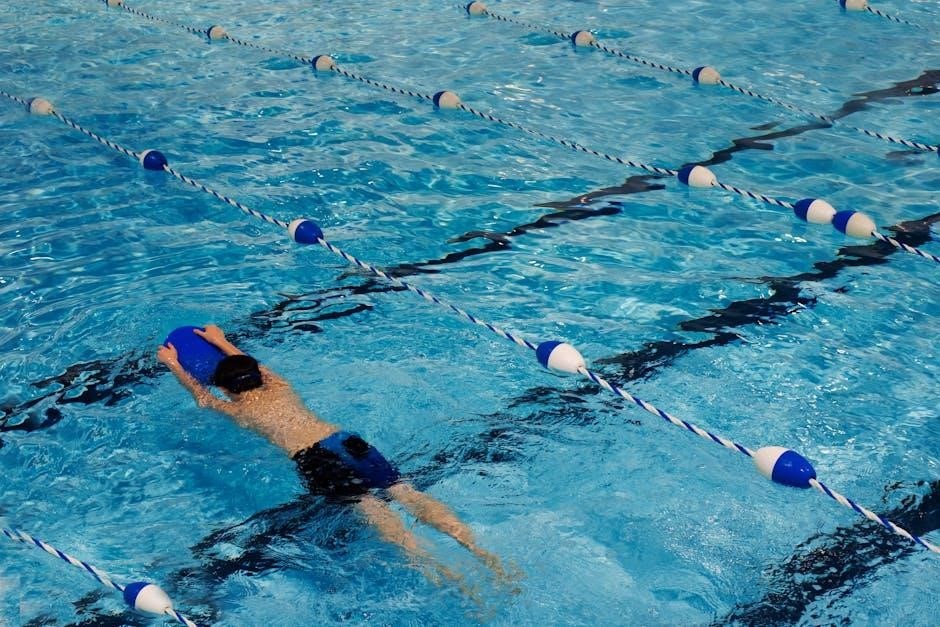
Welcome to effortless summer fun! This guide details everything needed for a successful Coleman pool experience, from initial setup to long-term enjoyment.
Coleman has been a trusted name in outdoor recreation for over a century, and their swimming pools continue that tradition of quality and affordability. These pools are designed with families in mind, offering a fantastic way to beat the heat and create lasting summer memories right in your backyard.
Coleman pools come in a variety of sizes and styles, from smaller inflatable options perfect for young children to larger, more robust metal frame pools suitable for the whole family. They prioritize ease of setup, allowing you to spend less time assembling and more time swimming.
This guide will walk you through every step of the process, ensuring a safe and enjoyable experience. Understanding your pool’s specific features and following these instructions will maximize its lifespan and your enjoyment.
Carefully unpack all components from the shipping box(es). Avoid using sharp objects like knives or box cutters directly on the pool liner or frame parts, as this could cause damage. Lay out all the pieces in a clear, open space to facilitate easy identification and counting.
Refer to the parts list included in your Coleman pool’s packaging. This list details every item that should be present. Take your time and systematically check off each component as you locate it. Don’t discard the packaging until you’ve confirmed everything is accounted for.
A thorough inventory now will save you potential headaches later. Missing parts can delay setup, so addressing this early is crucial for a smooth experience.
Compare your physical inventory against the detailed parts list provided within the Coleman pool packaging. Pay close attention to quantities – ensure you have the correct number of frame poles, connectors, filter components, and any included accessories. Small parts, like screws and washers, are easily overlooked, so be meticulous.

If any items are missing, do not attempt to assemble the pool. Contact Coleman customer support immediately, providing your pool model number and a list of the missing parts. Retain all original packaging materials, as they may be required for a claim or replacement shipment.
Documenting missing parts upfront streamlines the resolution process and prevents delays in enjoying your new pool.
Familiarize yourself with each component before beginning assembly. The frame typically consists of metal poles and connectors, forming the pool’s structural support. The liner is the waterproof membrane that holds the water; carefully inspect it for any punctures or tears.
The filter system includes the pump, filter cartridge or sand, and connecting hoses. Understand the function of each part. Accessories, such as the ladder and ground cloth, should also be identified. Refer to the diagram in your manual for visual guidance.
Knowing each component’s name and purpose will significantly simplify the setup process and future maintenance tasks. Proper identification prevents incorrect assembly and potential damage.
Selecting the ideal location is crucial for a safe and enjoyable pool experience. Prioritize a flat, level surface to ensure even weight distribution and prevent structural stress. Avoid slopes or uneven ground, as these can compromise the pool’s integrity.
Consider proximity to a power source for the filter pump and adequate drainage to manage potential overflow or rainwater. Ensure the chosen spot receives partial sunlight for warmer water, but also offers some shade for relief during peak hours.
A well-prepared site minimizes setup difficulties and maximizes the longevity of your Coleman pool. Careful planning now prevents headaches later!
Achieving a perfectly level surface is paramount for your Coleman pool’s stability and safety. Even a slight incline can create uneven pressure, potentially damaging the liner and frame. We recommend using a long level – at least four feet – to check the intended pool area in multiple directions.
If the ground isn’t naturally level, minor adjustments can be made. Carefully add or remove soil, compacting it firmly with a hand tamper. Avoid using large rocks or debris for leveling, as these can puncture the pool liner. A one-inch tolerance across the entire pool base is acceptable.
Proper leveling ensures a secure and enjoyable swimming experience, preventing frustrating issues down the line.
Careful site selection is crucial for safety and pool maintenance. Avoid placing your Coleman pool directly under trees, as falling leaves, branches, and bird droppings will contaminate the water, increasing cleaning demands and potentially damaging the filter system. Tree roots can also compromise the pool liner over time.
Critically important: Maintain a safe distance from overhead power lines. Never install a pool where it could come into contact with electrical wires. A minimum clearance of 10 feet is strongly advised. Consider underground utilities as well; contact your local authorities to mark any buried lines before digging.
Prioritizing a clear and safe location will maximize your enjoyment and minimize potential hazards.
Begin by laying out all frame pieces on a protected surface, identifying each component using the parts list. Connect the frame sections, ensuring secure locking of each joint – typically a push-and-click mechanism. Double-check stability before proceeding.
Next, carefully unroll the pool liner within the assembled frame. Gently position it, allowing it to settle. Avoid dragging the liner, as this can cause damage. Smooth out any wrinkles, working from the center outwards. Ensure the liner is evenly distributed within the frame.
Finally, before filling, inspect all connections and the liner for any potential issues. A properly assembled frame and liner are vital for a successful pool season!
Start by identifying all frame components – typically consisting of uprights, top rails, and base rails. Lay out the base rails, forming the perimeter of your pool. Connect the uprights to the base rails, ensuring they ‘click’ securely into place. A rubber mallet can assist, but use it gently to avoid damage.
Once the uprights are attached, connect the top rails to the uprights, completing the circular or rectangular frame. Again, listen for the secure locking sound. Regularly check each connection point for stability throughout the process.

For larger pools, consider having a second person assist with frame installation. Proper frame assembly is crucial for pool integrity and safety.
Carefully unfold the pool liner and loosely position it inside the assembled frame. Ensure the liner is centered, leaving an equal amount of material around all sides. Begin smoothing out wrinkles, working from the center outwards. Avoid pulling or stretching the liner excessively, as this can cause damage.
Gentle hand movements are best for wrinkle removal. As you smooth, gradually allow the liner to conform to the pool’s shape. Sunlight can warm the liner, making it more pliable and easier to work with.
Pay close attention to the corners and bottom of the pool, as these areas are prone to wrinkles. A soft brush or a dedicated liner smoothing tool can be helpful.
Begin filling your Coleman pool with water, using a garden hose with a spray nozzle set to a gentle flow. This prevents damage to the liner. As the water level rises, continue smoothing any remaining wrinkles in the liner from outside the pool.
Once filled to approximately 6 inches from the top, it’s time to address initial water chemistry. Before adding chemicals, test the water’s pH, alkalinity, and calcium hardness using a reliable test kit.
Adjust pH to between 7.2 and 7;8, alkalinity to 80-120 ppm, and calcium hardness to 200-400 ppm. Follow chemical manufacturer’s instructions carefully for proper dosage and safety precautions.
Your Coleman pool’s filtration system is crucial for maintaining clean and healthy swimming water. These systems remove debris, dirt, and impurities, ensuring a pleasant experience. Coleman pools typically utilize either cartridge or sand filter systems, though some smaller models may employ simpler filtration methods.
Cartridge filters use a disposable or reusable cartridge to trap particles, offering fine filtration. Sand filters employ a bed of specialized sand to capture debris, requiring backwashing to clean. Understanding your specific filter type is vital for proper maintenance.
Regular filter operation, typically 8-12 hours daily during peak season, is recommended. Consistent filtration prevents algae growth and keeps the water sparkling. Always consult your filter’s manual for detailed operating instructions.
Coleman pools commonly feature three primary filter types: sand, cartridge, and occasionally, diatomaceous earth (DE). Sand filters are robust and economical, utilizing silica sand to trap particles. They require periodic backwashing – reversing the water flow to flush out accumulated debris – and offer good overall filtration.

Cartridge filters provide finer filtration using a pleated, disposable or reusable cartridge. They eliminate backwashing but necessitate regular cartridge cleaning or replacement. DE filters, less common in Coleman pools, offer the highest level of filtration but demand more complex maintenance.
Choosing the right filter depends on pool size, usage, and budget. Cartridge filters are ideal for smaller pools, while sand filters suit larger ones. Always refer to your pool’s specifications for compatibility.
Proper filter installation is crucial for efficient pool operation. Begin by placing the filter on a level surface near the pool, ensuring easy access for maintenance. Connect the filter to the pool’s inlet and outlet hoses using provided clamps – tighten securely to prevent leaks.
Priming the filter is essential before initial use. Fill the filter housing with water, following the manufacturer’s instructions, to remove air pockets. Electrical connections should be made by a qualified electrician, adhering to local codes.
Double-check all connections before powering on the pump. Ensure the filter’s drain plug is securely closed. Regularly inspect hoses and clamps for wear and tear, replacing them as needed. A correctly installed filter ensures clean, safe swimming water.
Consistent water chemistry is vital for a healthy and enjoyable swimming experience. Regularly test your pool water using a reliable test kit, ideally 2-3 times per week; Maintaining proper chlorine levels (1-3 ppm) eliminates bacteria and algae. pH balance (7.2-7.8) is equally important, ensuring chlorine effectiveness and preventing irritation.
Alkalinity (80-120 ppm) stabilizes pH, while calcium hardness (200-400 ppm) protects the pool liner. Adjust chemicals gradually, following product instructions carefully. Shocking the pool weekly helps oxidize contaminants. Always add chemicals to water, never water to chemicals.
Record your test results and adjustments to track trends and optimize your chemical balance. A well-maintained chemical balance ensures clear, safe, and comfortable swimming conditions.

Chlorine is your primary sanitizer, battling bacteria and algae. Maintain a free chlorine level between 1-3 parts per million (ppm) – test frequently! Low levels invite unwanted growth, while excessive levels can cause irritation. pH levels directly impact chlorine’s effectiveness; aim for a range of 7.2-7.8.
If pH is too low (acidic), chlorine dissipates quickly and can damage pool equipment. If pH is too high (alkaline), chlorine becomes less effective and can cause scaling. Use pH increaser or decreaser to adjust accordingly, always following product instructions.
Regularly shocking the pool boosts chlorine levels, oxidizing organic matter. Remember to test and adjust both chlorine and pH before and after shocking for optimal results and swimmer comfort;
Total alkalinity acts as a pH buffer, preventing drastic swings. Maintain a level between 80-120 ppm for stable water chemistry. Low alkalinity causes pH instability, while high alkalinity makes pH adjustments difficult. Calcium hardness refers to the mineral content in your water, ideally between 200-400 ppm.
Low calcium hardness can lead to corrosive water, damaging pool surfaces and equipment. High calcium hardness causes scaling and cloudy water. Test alkalinity before adjusting pH, as they are interconnected. Use alkalinity increaser or calcium chloride to adjust levels as needed, following product guidelines carefully.
Consistent monitoring of these parameters ensures a comfortable and protected swimming environment, extending the life of your Coleman pool.
Consistent cleaning is vital for a sparkling and hygienic Coleman pool. Skimming the surface daily removes leaves, insects, and debris before they sink and decompose. Vacuuming at least weekly eliminates settled dirt and algae from the pool floor. For best results, use a dedicated pool vacuum, either manual or automatic.
Regularly brush the pool walls to prevent algae buildup and maintain a smooth surface. Pay close attention to corners and areas with reduced circulation. Backwash the filter as needed, following the manufacturer’s instructions, to maintain optimal filtration efficiency. A clean pool is a healthy and enjoyable pool!
Don’t forget to empty skimmer baskets and pump strainer frequently to ensure proper water flow.

Daily skimming is your first line of defense against pool debris. Use a leaf skimmer to remove floating leaves, bugs, and other surface contaminants before they sink. This prevents staining and reduces the load on your filter system. Vacuuming, ideally weekly, tackles settled debris on the pool floor;
Choose a vacuum suited to your pool size and type – manual vacuums connect to your filter system, while robotic vacuums operate independently. When vacuuming, move in overlapping strokes for complete coverage. Pay attention to areas with poor circulation, as these tend to accumulate more dirt.
Regular skimming and vacuuming significantly improve water clarity and reduce chemical demands, contributing to a healthier and more enjoyable swimming experience.
Maintaining a clean pool liner is crucial for longevity and aesthetics. Regularly brush the liner with a soft-bristled brush to prevent algae buildup and dirt adhesion. Avoid abrasive cleaners, as they can damage the vinyl. For general cleaning, use a mild soap solution and rinse thoroughly.
Stains require specific treatment depending on their source. Metal stains (iron, copper) can be removed with a stain remover specifically designed for pool liners. Organic stains (leaves, berries) may respond to vitamin C or enzymatic cleaners. Always test any cleaner in an inconspicuous area first.
Preventative measures, like maintaining proper water chemistry and regular cleaning, are the best defense against stubborn stains. Promptly address any discoloration to avoid permanent damage.
Proper winterization protects your pool from freezing damage. Begin by thoroughly cleaning the pool and balancing the water chemistry. Lower the water level below the skimmer and return inlets. Drain all equipment – pump, filter, heater – and store indoors if possible.
Use a winterizing kit containing algaecide and shock treatment to prevent algae growth and water stagnation. Plug all return inlets and the skimmer with winterizing plugs. Cover the pool with a durable winter cover, securing it tightly to prevent debris accumulation.
Regularly check the cover throughout the winter for damage or water buildup. Removing debris and maintaining the cover’s integrity will simplify spring opening.
Cloudy water often stems from improper filtration or chemical imbalance. Check filter cleanliness and adjust chlorine and pH levels. Green water indicates algae; shock the pool and run the filter continuously. Leaks can occur at connections or the liner – inspect carefully and tighten clamps or patch the liner as needed.

Pump failure may result from a clogged impeller or electrical issues. Ensure the pump basket is clear and check the circuit breaker. If the filter pressure is unusually high, backwash or clean the filter cartridge. Slow draining could signal a blockage in the drain plug.
Always consult the full manual for detailed solutions and safety precautions before attempting repairs.
Constant, active supervision is paramount when children are near the pool, even with shallow water levels. Never leave children unattended. Install a secure fence around the pool area, meeting local regulations, to prevent unauthorized access. Learn CPR and keep rescue equipment readily available.
Educate all users about pool rules, including no running, diving, or pushing. Avoid using glass containers near the pool. Regularly check and maintain safety equipment, like ladders and handrails. Ensure proper water chemistry to prevent skin and eye irritation.
Always disconnect power before performing any maintenance. Familiarize yourself with emergency procedures and keep emergency contact information visible.
Coleman pools are backed by a limited warranty against manufacturing defects in materials and workmanship. The warranty period varies by product – please retain your purchase receipt as proof of date. This warranty does not cover damage resulting from misuse, improper installation, or normal wear and tear.
For warranty claims or customer support, please visit our official website at [insert website address here] or contact our dedicated customer service team. You can reach us by phone at [insert phone number here] during business hours, or via email at [insert email address here].
We are committed to your satisfaction and will gladly assist with any questions or concerns you may have regarding your Coleman pool.