Categories
Embark on a delightful baking journey! This guide unlocks the secrets to creating a moist, rich, and utterly decadent Devil’s Food cake, effortlessly.
Duncan Hines Devil’s Food Cake Mix has been a beloved staple in American kitchens for generations, promising a consistently delicious and remarkably easy baking experience. But what exactly is it about this particular mix that keeps bakers returning for more? It’s the perfect balance of convenience and quality, offering a shortcut to a deeply chocolatey, moist cake without sacrificing flavor.
This isn’t just about following instructions; it’s about understanding the foundation for countless dessert possibilities. Whether you’re a seasoned baker or a complete novice, the Devil’s Food mix provides a reliable starting point. From simple birthday cakes to elaborate layered creations, its versatility is truly impressive.
We’ll delve into everything you need to know to maximize your baking success, transforming a simple box into a show-stopping dessert. Get ready to explore the nuances of this classic mix and unlock its full potential!
Let’s peek inside the box! Duncan Hines Devil’s Food Cake Mix isn’t just a homogenous powder; it’s a carefully formulated blend of ingredients designed to deliver a specific texture and flavor. The base consists primarily of enriched bleached wheat flour, providing the structure for the cake. Sugar is, of course, a key component, contributing to sweetness and moisture retention.
Cocoa powder is the star, lending that signature deep, dark chocolate hue and rich flavor; You’ll also find leavening agents – baking soda and baking powder – responsible for the cake’s rise. Modified food starch helps with texture, while salt enhances the sweetness and balances the flavors. Finally, artificial flavors and emulsifiers contribute to the overall taste and consistency.
Knowing these components helps you understand how adjustments might affect the final product. It’s a pre-portioned, balanced system, but understanding its building blocks empowers you to experiment!
Delving deeper into the essentials! Let’s dissect the core components of the Duncan Hines Devil’s Food mix. Enriched Bleached Flour provides the cake’s framework, offering gluten for structure. Sugar isn’t merely for sweetness; it tenderizes and retains moisture, crucial for a soft crumb.
Cocoa, specifically processed cocoa, delivers the intense chocolate flavor and dark color. The type of cocoa impacts the final taste profile. Baking Soda & Baking Powder are the leavening agents, creating air bubbles for a light and fluffy texture – they require moisture to activate.
Modified Food Starch improves texture and prevents a gummy consistency. Salt balances sweetness and enhances other flavors. Artificial Flavors amplify the chocolate experience, while Emulsifiers (like soy lecithin) help bind fat and water, creating a stable batter. Understanding each ingredient’s role is key to successful baking!
Maintaining freshness is paramount! An unopened box of Duncan Hines Devil’s Food cake mix generally boasts a shelf life of 18-24 months from the date of manufacture, clearly marked on the packaging. However, quality can diminish over time, impacting leavening power and flavor intensity.

Proper storage is crucial. Store the unopened mix in a cool, dry, and dark pantry, away from direct sunlight, moisture, and strong odors. Avoid temperature fluctuations. Once opened, transfer the remaining mix to an airtight container to prevent it from absorbing moisture and losing its effectiveness.
Opened mix is best used within 6-9 months for optimal results. While it might still be usable beyond this timeframe, you may notice a slight decline in baking performance. Always check for any signs of spoilage, like off-odors or insect infestation, before using!
Let’s transform this mix into a delicious cake! This recipe provides a foundation for a classic Devil’s Food experience. It’s simple, reliable, and perfect for beginners. Prepare for a wonderfully moist and flavorful treat with minimal effort.
The core of the process involves combining the cake mix with a few key ingredients. This recipe yields a standard 9×13 inch cake or two 8-inch round layers. We’ll focus on the straightforward method for creating a beautiful, evenly textured batter, ready for the oven. Following these steps carefully ensures a successful bake every time.
Get ready to preheat your oven and gather your ingredients! We’ll detail exactly what you need beyond the box and guide you through each step of the mixing process, from dry ingredients to a smooth, pourable batter.
To complement the Duncan Hines Devil’s Food mix, you’ll need a few pantry staples to create a truly exceptional cake. These ingredients work harmoniously with the mix, enhancing its rich chocolate flavor and ensuring a tender crumb.
Specifically, you will require 1 cup of water (or milk for extra richness!), 1/3 cup of vegetable oil (or melted butter for enhanced flavor), and 3 large eggs. These are the foundational wet ingredients. Don’t substitute the eggs; they provide crucial structure and moisture.
Optional, but recommended, is 1 teaspoon of vanilla extract to amplify the chocolate notes. Some bakers also like to add a pinch of salt to balance the sweetness. Ensure all ingredients are at room temperature for optimal emulsification and a smoother batter. Having these readily available will streamline the baking process!
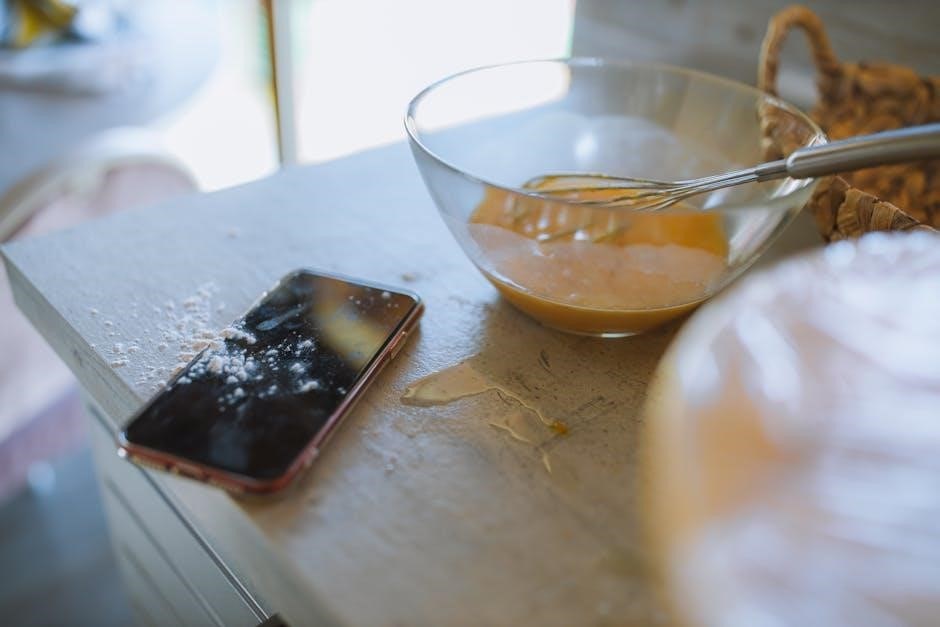
Begin by preheating your oven to 350°F (175°C) and preparing your baking pan. In a large mixing bowl, pour in the Duncan Hines Devil’s Food cake mix. Add the 1 cup of water (or milk), 1/3 cup of oil (or melted butter), and 3 eggs.
Using an electric mixer, start on low speed to combine the ingredients, preventing a flour cloud. Gradually increase the speed to medium and beat for 2 minutes, scraping down the sides of the bowl occasionally to ensure everything is well incorporated.
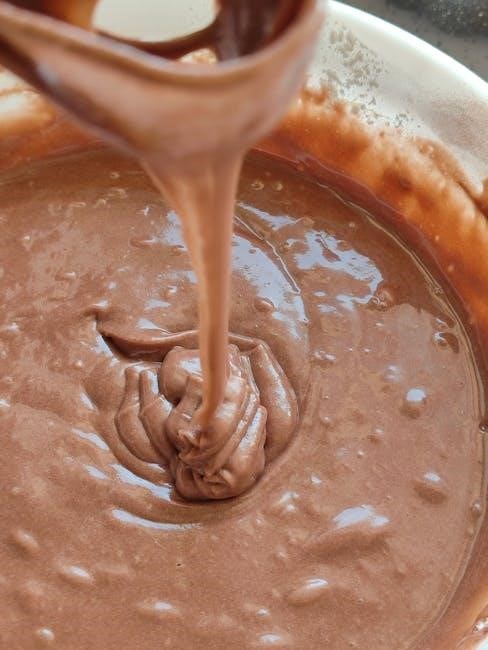
If using vanilla extract, gently fold it into the batter now. Avoid overmixing, as this can develop the gluten and result in a tough cake. The batter should be smooth and relatively lump-free. Pour immediately into your prepared pan and bake according to the guidelines!
Achieving baking perfection starts with the right tools and settings! For a standard Duncan Hines Devil’s Food cake, a 9×13 inch rectangular pan yields a classic sheet cake. Alternatively, two 8 or 9-inch round cake pans are ideal for layered cakes.
Proper pan preparation is crucial: grease the pan thoroughly with shortening or baking spray, then dust lightly with flour. This prevents sticking and ensures easy removal. Regarding temperature, 350°F (175°C) is the recommended oven temperature for most variations.
Baking times will vary depending on the pan size. A 9×13 inch pan typically requires 30-35 minutes, while round pans take approximately 25-30 minutes. Always check for doneness by inserting a toothpick into the center – it should come out clean or with a few moist crumbs.
Selecting the ideal pan dramatically impacts your Duncan Hines Devil’s Food cake’s texture and appearance; A 9×13 inch pan creates a convenient, single-layer sheet cake – perfect for casual gatherings and easy frosting. For a more elegant presentation, two 8-inch or 9-inch round cake pans are excellent choices, enabling layered cakes with beautiful frosting details.
Consider baking time: shallower pans (like 9×13) bake faster, while deeper pans (round layers) require slightly longer. A bundt pan offers a visually stunning result, but ensure it’s thoroughly greased. Cupcakes, using a standard muffin tin, provide individual portions and quicker baking.
Pan material matters too: light-colored metal pans bake more evenly than dark-colored ones. Glass pans may require a slightly lower oven temperature. Always adjust baking time accordingly!
Precise baking is key for a perfect Duncan Hines Devil’s Food cake. Generally, preheat your oven to 350°F (175°C). This temperature ensures even cooking and a moist crumb. However, slight adjustments may be needed based on your oven and pan choice.
Baking times vary: a 9×13 inch pan typically requires 30-35 minutes. Round 8 or 9-inch layers usually bake for 30-35 minutes as well. Cupcakes need only 18-22 minutes. A bundt pan can take 45-55 minutes.
The toothpick test is crucial: insert a toothpick into the center of the cake. If it comes out clean or with a few moist crumbs, it’s done! Avoid overbaking, as this leads to a dry cake. Let the cake cool in the pan for 10-15 minutes before inverting onto a wire rack to cool completely.
Devil’s Food’s rich chocolate flavor begs for complementary frostings. Classic chocolate buttercream is always a winner, intensifying the cocoa notes for a truly decadent experience. Consider a dark chocolate ganache for an even more sophisticated touch.
Beyond chocolate, explore delightful contrasts! Cream cheese frosting provides a tangy counterpoint, balancing the cake’s sweetness beautifully. Raspberry frosting offers a bright, fruity burst that cuts through the richness. A mocha buttercream, incorporating coffee, elevates the chocolate flavor.
Don’t underestimate simple glazes! A chocolate glaze or even a dusting of powdered sugar can be elegant options. Ultimately, the best frosting is the one you enjoy most with this wonderfully flavorful cake.
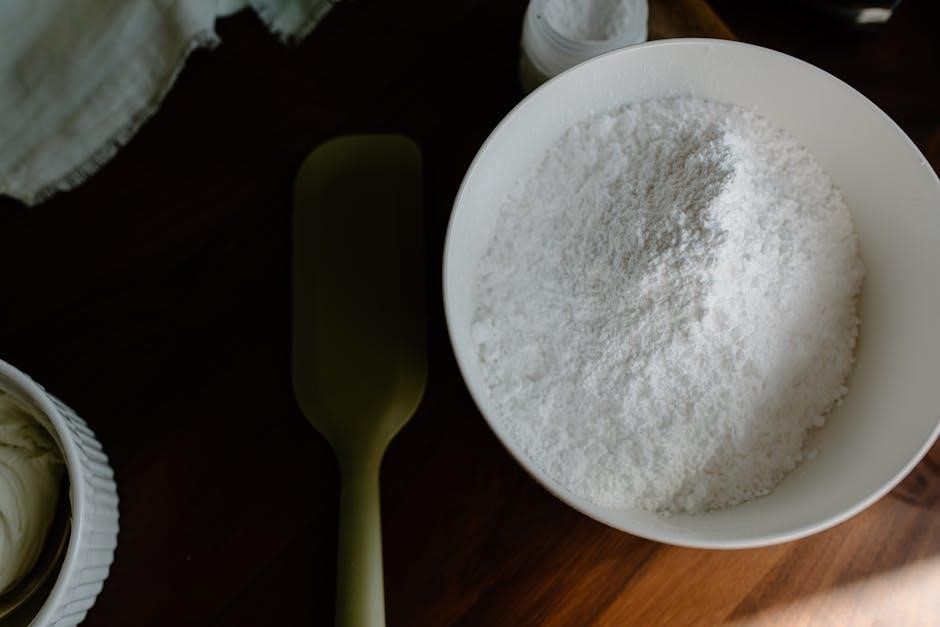
For a truly traditional pairing, consider a classic American buttercream. This involves creaming butter until light and fluffy, then gradually adding powdered sugar and cocoa powder. A splash of vanilla extract enhances the flavor profile, creating a smooth and creamy texture.
Alternatively, a chocolate ganache offers a more intense chocolate experience. Simply heat heavy cream and pour it over chopped chocolate, allowing it to sit for a minute before stirring until smooth. This results in a glossy, rich frosting.
A Swiss meringue buttercream provides a silky-smooth, less sweet option. Egg whites and sugar are heated over a double boiler, then whipped into a stable meringue before adding butter and melted chocolate. This requires a bit more effort but yields exceptional results!
While chocolate is a natural fit, Devil’s Food truly shines with contrasting flavors. Cream cheese frosting offers a tangy counterpoint to the rich chocolate, creating a balanced and delightful experience. Beat cream cheese with butter, powdered sugar, and vanilla for a classic pairing.
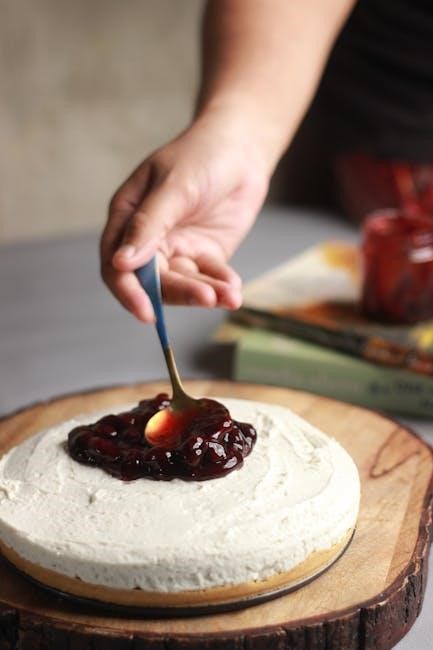
Raspberry frosting introduces a bright, fruity note that cuts through the chocolate’s intensity. Use raspberry puree or jam incorporated into a buttercream base for a vibrant flavor and beautiful color.

For a sophisticated twist, consider a mocha frosting – combining chocolate and coffee flavors. A hint of orange zest can also elevate the cake, complementing the cocoa notes. Don’t be afraid to experiment and discover your perfect flavor combination!
Even with a convenient mix, baking mishaps can occur. A dry cake often results from overmixing or excessive baking time. Measure ingredients accurately and avoid prolonged beating after adding flour. Reduce oven temperature slightly and check for doneness a few minutes early.
If your cake doesn’t rise, ensure your baking powder is fresh. Expired leavening agents won’t provide the necessary lift. Also, avoid opening the oven door frequently during baking, as this can cause temperature fluctuations.
A sunken center can indicate too much liquid or an oven temperature that’s too low. Conversely, a cracked top suggests the oven was too hot. Careful monitoring and adherence to the recipe are key to success!
A dry Devil’s Food cake is a common frustration, but easily remedied! The primary culprit is often overbaking. Start checking for doneness 5-10 minutes before the recommended time. A toothpick inserted into the center should come out with a few moist crumbs attached, not clean.
Overmixing the batter develops too much gluten, resulting in a tough, dry texture. Mix until just combined – a few streaks of flour are okay. Additionally, inaccurate ingredient measurements, particularly liquids, can contribute to dryness.
To salvage a slightly dry cake, brush it with simple syrup after baking. For future attempts, consider adding a tablespoon of sour cream or mayonnaise to the batter for extra moisture.
A flat cake can be disheartening, but pinpointing the cause is key! Often, the issue stems from expired baking powder or baking soda – these are crucial leavening agents. Always check the expiration date! Another common mistake is improper mixing. Ensure your butter and eggs are adequately creamed together, incorporating air for lift.
Incorrect oven temperature also plays a role. An oven that’s too cool won’t activate the leavening agents effectively. Verify your oven’s accuracy with an oven thermometer. Furthermore, opening the oven door frequently during baking causes temperature fluctuations, hindering rise.
Finally, using too much liquid can weigh down the batter. Stick to the recipe’s measurements precisely. A little patience and attention to detail will yield a beautifully risen cake!
Unleash your creativity! Duncan Hines Devil’s Food mix is a fantastic base for endless variations. For a classic textural delight, fold in 1 cup of chocolate chips – semi-sweet, dark, or even milk chocolate work wonderfully. Roughly chopped nuts, like walnuts or pecans (about ½ cup), add a satisfying crunch and nutty flavor.
Elevate the chocolate intensity by incorporating 1-2 teaspoons of instant espresso powder into the dry ingredients. This doesn’t make the cake taste like coffee, but deepens the chocolate notes beautifully. A swirl of raspberry jam through the batter before baking creates a stunning visual and flavor contrast.
Don’t be afraid to experiment! Consider adding a dash of cinnamon or a hint of orange zest for unique flavor profiles. Remember to adjust baking time slightly if adding substantial ingredients.
Enhance your Devil’s Food cake with classic additions! Adding chocolate chips is a simple yet impactful upgrade. We recommend 1 cup of semi-sweet chocolate chips for a balanced sweetness, but dark chocolate chips offer a richer, more intense flavor. Fold them gently into the batter after mixing, ensuring even distribution.
Nuts provide delightful texture and flavor; ½ to ¾ cup of chopped walnuts, pecans, or even macadamia nuts complement the chocolate beautifully. Toasting the nuts lightly before adding them intensifies their flavor and adds extra crunch.
For a truly decadent experience, combine both! Chocolate chips and chopped nuts create a harmonious blend of sweetness, texture, and nutty goodness. Be mindful not to overmix after adding these ingredients, as this can develop the gluten and result in a tougher cake.

Unlock a richer, more complex chocolate flavor with coffee! Devil’s Food cake and coffee are a match made in dessert heaven. Instead of using water as directed in the box instructions, substitute with strong brewed coffee – about the same amount, typically 1 cup.
The coffee doesn’t make the cake taste like coffee; it intensifies the chocolate notes, creating a deeper, more nuanced flavor profile. Use a dark roast coffee for the most pronounced effect. Instant coffee can be used in a pinch, but brewed coffee provides superior results.
For an even bolder flavor, add 1-2 teaspoons of coffee granules directly to the dry mix before adding the wet ingredients. This creates a mocha-like experience. Experiment to find your perfect coffee-to-chocolate ratio!
Proper storage ensures your Devil’s Food cake stays fresh and delicious! Once cooled completely, store the cake in an airtight container at room temperature for up to 3 days. For longer storage, wrap tightly in plastic wrap and then foil, and refrigerate for up to a week, or freeze for up to 2-3 months.
To serve, allow refrigerated cake to come to room temperature for optimal flavor and texture. A dusting of powdered sugar, a dollop of whipped cream, or a scoop of vanilla ice cream elevates the experience. Fresh berries also complement the rich chocolate beautifully.
For a visually appealing presentation, consider layering the cake with frosting between each layer and decorating with chocolate shavings or sprinkles. Enjoy your homemade masterpiece!