Categories

Frosthaven’s vibrant ecosystem presents coral as a crucial, yet often overlooked, resource for adventurers seeking to bolster their capabilities and progress.
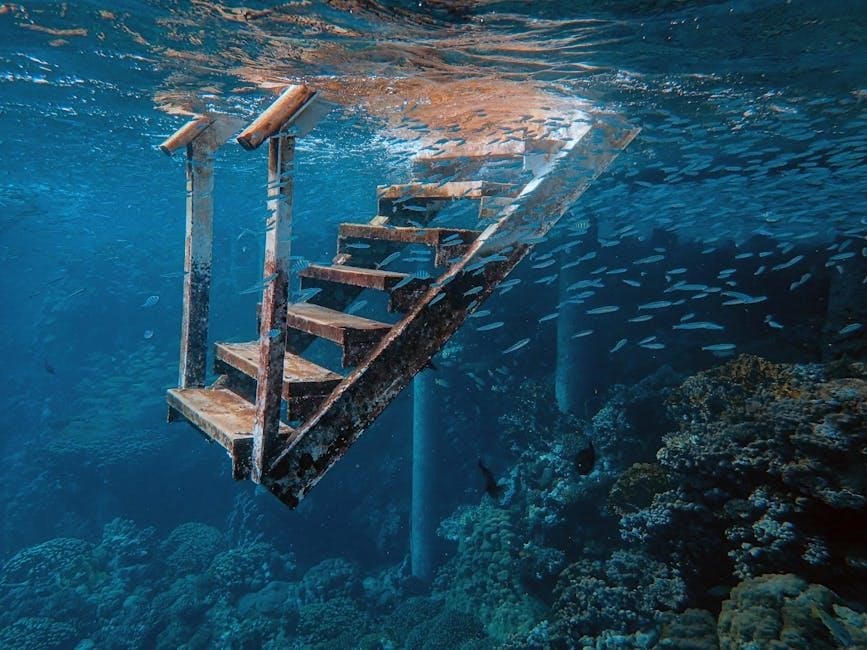
Coral, within the frozen world of Frosthaven, represents more than just a beautiful, albeit unusual, component; it’s a vital resource deeply intertwined with the settlement’s survival and the adventurers’ progression. Unlike typical crafting materials sourced from the land, coral originates from the perilous, icy waters surrounding the city, adding a layer of risk and reward to its acquisition.
Its unique properties stem from the strange, magical energies present in Frosthaven’s environment, making it essential for crafting powerful items and enhancing existing gear. Understanding coral’s significance is paramount for any aspiring hero looking to overcome the challenges that lie ahead. This guide will delve into the intricacies of coral, covering its origins, acquisition, usage, and strategic importance within the Frosthaven campaign.


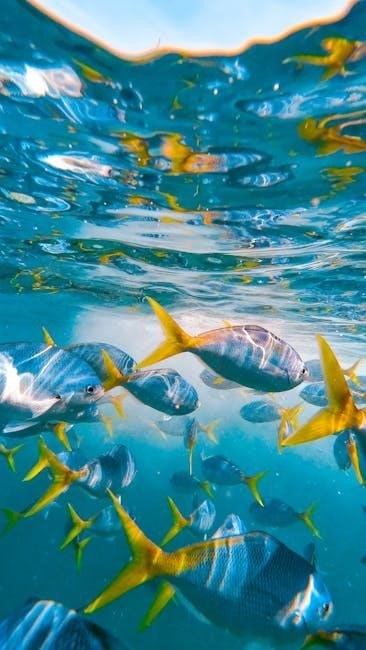
Coral in Frosthaven isn’t the vibrant, tropical variety found in warmer climates. Instead, it’s a crystalline, bioluminescent growth that thrives in the frigid waters, absorbing ambient magical energy. This energy imbues the coral with unique properties, making it invaluable for crafting potent items and enhancements.
Its importance stems from its ability to channel and amplify magical effects, resulting in weapons with increased damage, armor with superior protection, and accessories offering powerful passive abilities. Many advanced recipes require coral, effectively gating progression for characters seeking the strongest gear. Furthermore, coral is often crucial for completing certain scenario objectives and unlocking key advancements within the Frosthaven campaign, solidifying its position as a cornerstone resource.

Coral’s most defining characteristic is its inherent magical conductivity. Unlike other crafting materials, coral doesn’t simply add a static bonus; it reacts with the enchantment being applied, potentially altering its effects or increasing its potency. Different types of coral – indicated by color variations – exhibit different affinities, favoring specific schools of magic.
For example, Azure Coral enhances Frost magic, while Crimson Coral boosts Fire. This makes careful selection crucial. Beyond magical properties, coral is remarkably durable, resisting degradation even under extreme conditions. However, it’s also brittle, requiring skilled craftsmanship to avoid shattering during the forging process. Finally, coral emits a faint, ethereal glow, making it easily identifiable even in darkness.
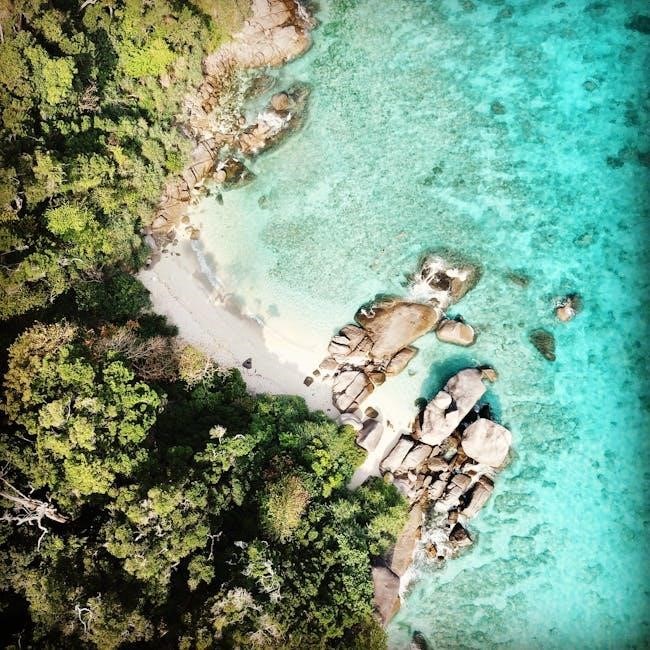
Coral isn’t evenly distributed throughout the Frosthaven map; its presence is strongly tied to areas with subterranean geothermal activity and access to underground waterways. The Coral Coast region, unsurprisingly, boasts the highest concentration, particularly within the Sunken Caves and along the treacherous Reefs. However, venturing inland can also yield results.
Specifically, the Forgotten Quarry and the Whispering Caves occasionally contain coral deposits. Exploration tiles bordering water sources have a significantly increased chance of revealing coral nodes. Be warned: these locations are often guarded by aquatic creatures or afflicted by environmental hazards. The deeper you delve, the richer the coral veins, but the greater the risk. Keep an eye out for visual cues – a faint blue luminescence often indicates nearby coral.
Coral procurement in Frosthaven demands a multifaceted approach, extending beyond simple exploration. While discovering natural deposits is vital, savvy adventurers leverage multiple avenues to secure this precious resource. Scenario completion frequently rewards coral, with certain quests offering substantial yields as part of their loot tables. Item crafting presents another opportunity; specific recipes allow for the creation of coral-generating components, albeit often requiring initial investment.
Furthermore, the Trading Post occasionally stocks coral, though prices fluctuate based on supply and demand. Exploration tiles, when carefully selected, can reveal hidden coral deposits, but this carries inherent risks. Mastering these methods – combining scenario rewards, crafting, trading, and exploration – is key to maintaining a consistent coral supply.
Coral frequently appears as a reward within Frosthaven scenarios, making diligent quest selection crucial for consistent acquisition. Certain scenarios are renowned for their higher-than-average coral yields, often tied to objectives involving aquatic environments or ancient ruins. These hotspots should be prioritized when formulating a campaign strategy. However, coral nodes within scenarios aren’t static; their quantity and quality exhibit variability based on difficulty level and random seed generation.
Players may encounter scenarios with abundant, easily accessible coral, while others present a scarcity, demanding thorough exploration and strategic resource management. Understanding this variability and adapting your approach accordingly is paramount to maximizing coral gains from scenario completion. Careful planning and team coordination can significantly improve your harvest.
Frosthaven offers several scenarios particularly generous with coral rewards. “Tidal Caves” consistently provides a substantial yield, often exceeding three coral pieces, due to its underwater setting and focus on aquatic creatures. “Forgotten Temple” also frequently grants coral, linked to its ancient, submerged chambers and the remnants of a lost civilization. “The Frozen Coast” can yield significant coral, though it’s often guarded by challenging enemies.
Furthermore, “Whispering Bay” presents opportunities for coral acquisition through exploration and completing optional objectives. Remember that scenario difficulty impacts the amount of coral received; higher difficulties generally offer greater rewards, but at increased risk. Regularly checking scenario guides and community reports can reveal hidden coral sources and optimal strategies for maximizing your harvest.
Coral nodes within Frosthaven scenarios aren’t static; their presence and yield exhibit considerable variability. Each time a scenario is played, the location and quantity of coral nodes are randomized, demanding adaptability from players. Some nodes may contain a single piece, while others boast a cluster of three or even four. Node distribution also changes – a scenario rich in coral one playthrough might offer very little the next.
This variability is influenced by scenario modifiers and difficulty levels. Certain modifiers can increase the frequency of resource nodes, including coral, while others might diminish them. Paying close attention to the scenario setup and utilizing character abilities that reveal hidden resources are crucial for consistently locating and securing this valuable component.
Coral, while gathered from scenarios and exploration, can also be obtained through crafting and the Trading Post. Certain recipes allow for the conversion of other resources into coral, albeit often at an inefficient rate – primarily useful in emergencies. The Trading Post offers a more reliable, though costly, avenue for acquisition.
Availability fluctuates based on card draws and outpost status. Expect to see coral appear intermittently, with prices varying depending on demand. Prioritizing Trading Post visits after successful coral hauls can allow you to sell surplus for profit, fueling further acquisitions. Be mindful of other players’ needs; a collaborative approach to trading can benefit the entire party, ensuring everyone has access to this vital resource.
Frosthaven features a select number of items capable of passively generating coral, offering a consistent, albeit small, income stream. These typically fall into the category of trinkets or specialized tools, often requiring an initial investment of other resources to acquire. The ‘Barnacle Scraper’ is a prime example, yielding one coral at the start of each scenario.
Other items might generate coral based on specific conditions, such as successful attacks or exploration events. While the output isn’t substantial enough to solely rely on these items, they represent a valuable supplementary source, especially during prolonged campaigns where coral demand is high. Carefully consider these items when equipping your characters, factoring in their overall utility alongside their coral-generating capabilities.
Coral availability at the Frosthaven Trading Post fluctuates significantly based on scenario outcomes and card reveals. Initially, coral is relatively scarce and commands a high price, often around 8-10 gold per unit. However, successful completion of scenarios that introduce coral-related event cards can increase supply, driving down the cost to as low as 5 gold.
The Trading Post isn’t a consistent source; stock is limited and replenished irregularly. Savvy players should prioritize purchasing coral when prices are low, anticipating future crafting needs. Conversely, selling excess coral can provide a quick influx of gold, but be mindful of potential future requirements. Monitoring the Trading Post is crucial for efficient coral management.
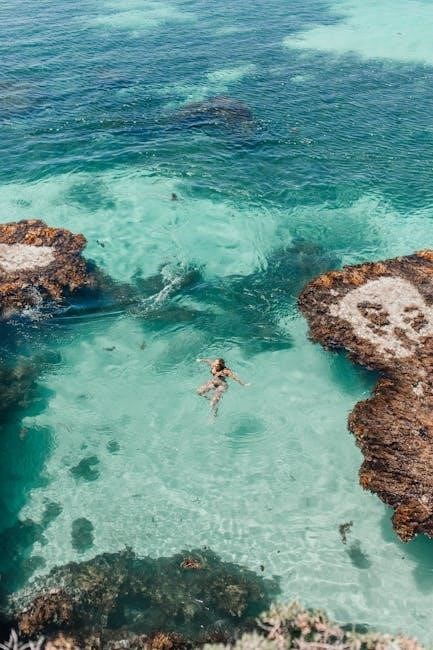
Exploration offers a compelling, albeit risky, avenue for acquiring coral in Frosthaven. Certain exploration tiles feature coral deposits, indicated by specific icons during setup. These deposits aren’t guaranteed; tile draws are randomized, and the presence of coral is subject to chance. Tiles with coastal or underwater themes have a higher probability of containing coral.
However, exploring for coral often involves confronting challenging enemies and navigating perilous terrain. The reward – a substantial coral haul – must be weighed against the potential for character injuries and item loss. Careful consideration of your party’s strength and available resources is paramount before venturing into coral-rich territories. Success yields significant gains, but failure can be costly.
Identifying promising exploration tiles requires careful observation during the tile selection process. Look for tiles depicting coastal environments, submerged ruins, or areas with visible marine life – these visually suggest a higher likelihood of coral presence. The tile’s description can also offer clues; keywords like “reef,” “shoreline,” or “underwater cave” are strong indicators.
Experienced players often share knowledge regarding specific tile numbers known to consistently yield coral. However, remember that even tiles with favorable indicators aren’t foolproof. The random element remains significant. Utilizing character abilities that reveal tile contents before committing can mitigate risk, providing valuable intel before a potentially rewarding, or disastrous, exploration attempt.
Exploring for coral presents a classic risk-versus-reward scenario in Frosthaven. While the potential gains – a substantial influx of this valuable resource – are enticing, exploration tiles often harbor dangerous enemies and challenging events. Tiles promising coral frequently feature increased difficulty, demanding careful party composition and strategic combat planning.
Consider your current campaign state. Is your team desperately short on coral, justifying a higher risk tolerance? Or are you comfortably supplied, allowing for more cautious exploration choices? Factor in character health, available healing, and the likelihood of encountering unfavorable conditions. A failed exploration can result in injuries, item loss, and wasted time, potentially outweighing the coral reward.
Coral’s true value shines through its diverse applications in crafting and item enhancement within Frosthaven. It isn’t merely a component; it’s often essential for creating powerful gear. Many late-game items, particularly those focused on elemental resistance or unique ability modifications, demand significant coral investments.
Beyond initial crafting, coral serves as a crucial element for upgrading existing equipment. Applying coral to items can unlock potent enhancements, boosting stats, adding new effects, or even altering the item’s core functionality. Prioritize enhancing items aligned with your party’s core strategy, maximizing the return on your coral expenditure. Careful consideration of upgrade paths is vital for long-term success.
Coral frequently appears in recipes for items designed to mitigate Frosthaven’s harsh environmental effects. The ‘Tidal Shroud’ armor, requiring three coral, provides substantial cold resistance – invaluable for northern scenarios. Similarly, the ‘Abyssal Dagger’ weapon, demanding two coral, inflicts a chilling effect on enemies, slowing their advance.
Accessories also benefit greatly from coral infusion. The ‘Coral Amulet’ (four coral) grants a bonus to underwater movement, useful in specific scenarios, while the ‘Briny Ring’ (two coral) enhances healing received. Remember to check the crafting requirements carefully, as coral is often paired with other rare resources. Prioritize crafting items that complement your character’s strengths and address party weaknesses.
Coral imbues several Frosthaven weapons with unique properties, often focused on control and elemental damage; The ‘Abyssal Dagger’, costing two coral, is a prime example, applying the ‘chilled’ condition to enemies, reducing their movement. For those favoring ranged combat, the ‘Tidestrider Bow’ (three coral) grants increased range and a chance to inflict ‘wet’ – amplifying frost damage.
Heavier options include the ‘Coral Hammer’ (four coral), delivering significant stun damage, and the ‘Barnacle Blade’ (two coral), which slows enemy attack speed. Consider the ‘Trident of the Depths’ (five coral) for a powerful, albeit expensive, option. These weapons aren’t merely stat boosts; they fundamentally alter combat tactics, offering strategic advantages against specific enemy types.
Coral enhances Frosthaven armor and accessories, primarily focusing on defensive capabilities and resistance to specific damage types. The ‘Coral Breastplate’ (three coral) provides substantial armor and a bonus to cold resistance, crucial in northern scenarios. For lighter protection, the ‘Barnacle Shield’ (two coral) offers a defensive boost and a chance to inflict ‘encumbered’.
Accessories like the ‘Amulet of the Tides’ (two coral) grant increased healing received, while the ‘Coral Ring’ (one coral) provides a small, consistent health regeneration. The ‘Bracers of the Deep’ (four coral) are a late-game option, offering significant protection against poison and disease. These items aren’t just about raw stats; they provide tactical advantages, improving survivability and team synergy.
Coral serves as a potent enhancement material in Frosthaven, allowing players to augment existing equipment beyond their base stats. Applying coral to items typically unlocks additional effects or improves existing ones, often tied to elemental resistances or defensive properties. The enhancement process requires specific item cards and a successful crafting test.
For example, adding coral to a standard shield might grant a bonus to block chance or add a retaliatory effect. Weapons can gain elemental damage, and armor can receive increased resistance to specific enemy attacks. The cost of enhancement varies depending on the item and the desired effect, but coral consistently provides a significant power boost. Careful consideration of item synergies is key to maximizing the benefits.
Coral isn’t merely used for direct item enhancements; it’s also integral to upgrading character and settlement components within Frosthaven. Many building upgrades within the city require coral alongside other resources, providing lasting benefits to the entire group. These upgrades can range from improved crafting stations to enhanced defenses against roaming monsters.
Furthermore, certain character progression cards necessitate coral to unlock advanced abilities or passive skills. These upgrades often focus on bolstering defensive capabilities or providing unique tactical advantages during scenarios. Investing coral into these long-term improvements is crucial for sustained campaign success, offering a strategic alternative to immediate item crafting. Prioritizing these upgrades can significantly impact the group’s overall power and resilience.
Coral-enhanced items in Frosthaven offer a unique suite of benefits, primarily revolving around defensive capabilities and elemental resistance. Weapons imbued with coral often gain bonus damage against armored enemies, piercing through their defenses with greater efficiency. Armor crafted with coral provides substantial protection against specific elemental attacks, like frost or poison, common threats within the game’s scenarios.
Accessories utilizing coral frequently grant passive abilities, such as increased healing received or enhanced movement speed in difficult terrain. These subtle yet impactful bonuses can dramatically shift the tide of battle. The strategic advantage gained from coral-enhanced gear isn’t always about raw power, but about mitigating damage and maximizing survivability, proving invaluable during challenging encounters.
Coral, while valuable, demands careful management in Frosthaven. Efficient players prioritize stockpiling, recognizing its scarcity and crucial role in late-game crafting. Don’t solely rely on immediate needs; anticipate future recipes requiring substantial amounts. Consider designating a character as the “coral custodian,” responsible for tracking and safeguarding this precious resource.
Optimizing gathering involves prioritizing scenarios known for high yields and strategically utilizing exploration tiles. Furthermore, understanding the trading post’s fluctuating prices allows for shrewd buying and selling. Long-term campaign success hinges on a consistent coral supply, enabling access to powerful items and upgrades essential for overcoming increasingly difficult challenges. Proactive planning is key!
Coral presents unique storage challenges due to its weight and value in Frosthaven. Prioritize utilizing character backpacks efficiently, allocating space based on individual crafting needs and scenario expectations. The communal stash should be meticulously organized, perhaps with dedicated sections for raw coral versus refined components. Regularly assess your stockpile, identifying excess amounts that could be profitably traded at the trading post.
Consider the risk of loss during expeditions; avoid carrying excessive coral if a scenario is particularly dangerous. Tracking coral expenditure is vital – note which items consume it, allowing for accurate forecasting of future requirements. Effective management prevents bottlenecks and ensures a steady flow of this critical resource throughout your campaign.
Maximizing coral acquisition demands strategic planning in Frosthaven. Prioritize scenarios known for high yields, coordinating character abilities to exploit coral node locations effectively. Utilize characters with skills enhancing resource gathering, such as those with increased item capacity or exploration bonuses. When exploring, focus on tiles indicated as coral-rich, but carefully weigh the associated risks.
Efficient movement is key; minimize wasted actions during scenario exploration. Consider item combinations that boost gathering rates or provide protection against hazards near coral deposits. Don’t overlook opportunities to trade for coral when prices are favorable. A well-coordinated team, informed by scenario knowledge, will consistently outperform haphazard gathering attempts.
Coral’s significance extends beyond immediate crafting needs, deeply impacting Frosthaven’s long-term progression. Many advanced recipes and powerful enhancements require substantial coral investments, directly influencing your ability to tackle later-game scenarios and challenges. Prioritizing coral acquisition early ensures preparedness for these demanding encounters.
Furthermore, certain campaign goals and unlockable content necessitate specific coral-based items or upgrades. Neglecting coral gathering can create bottlenecks, hindering your progress towards achieving these objectives. Strategic coral management allows for consistent item improvement, bolstering your team’s overall strength and resilience throughout the entire campaign, ultimately shaping Frosthaven’s fate.
Coral-enhanced items don’t benefit all characters equally; certain classes exhibit stronger synergies. The Plankwalker, for example, can leverage coral’s defensive properties to amplify their shield-based abilities, while the Pyromancer might favor coral-infused weapons for increased damage output. Understanding these class-specific advantages is crucial.
Building a “coral-focused” character involves prioritizing items that utilize coral as a core component, maximizing its benefits. This often means sacrificing other potential enhancements for the unique advantages coral provides. Consider playstyles – a tank benefits from coral armor, a damage dealer from coral weapons, creating a specialized and potent force within Frosthaven.
Coral items shine brightest with specific Frosthaven classes. The Plankwalker truly excels, utilizing coral armor to bolster shield capacity and resilience, becoming an almost impenetrable bulwark. Similarly, the Pyromancer finds coral-infused weapons significantly amplify their fire damage, creating devastating offensive potential. The Bannerhawk can leverage coral accessories to enhance their support capabilities, providing stronger buffs to allies.
Conversely, classes like the Oathsworn, focused on precise strikes and mobility, may find coral’s benefits less pronounced. While not useless, the resource is better allocated to those who can maximize its defensive or elemental amplification properties. Prioritizing coral for the right character dramatically increases party effectiveness.

Crafting a character around coral requires deliberate card and item choices. Prioritize unlocking recipes that utilize coral early, focusing on armor and weapons offering significant stat boosts. For classes like the Plankwalker, aim for full coral armor sets, maximizing shield capacity and damage reduction. Supplement this with coral accessories enhancing health or defense.
Card selection should complement this strategy; cards that generate shields or mitigate damage synergize well with coral’s defensive properties. Consider talents that reduce coral costs or increase its effectiveness. A coral-focused build isn’t about exclusively using coral, but about maximizing its impact on your chosen class’s strengths.
Coral adapts surprisingly well to varied playstyles. For tank builds, coral armor provides essential survivability, absorbing damage and protecting allies. Damage-focused characters can utilize coral weapons, often trading raw power for consistent, reliable damage output and beneficial status effects. Support characters benefit from coral accessories boosting healing or providing protective auras.
Even a control-oriented playstyle can leverage coral; items that slow enemies or disrupt their actions become more potent when supplemented by coral’s defensive properties. The key is recognizing how coral’s inherent strengths – durability and consistent benefits – can enhance your preferred approach, rather than forcing a specific archetype.