Categories
White sewing machines represent a rich history of innovation, offering durable and reliable performance for generations of seamstresses and tailors alike.
The White Sewing Machine Company’s story began in 1857, founded by Thomas H. White in Templeton, Massachusetts. Initially, the company manufactured sewing machine shuttles, quickly becoming a key supplier for other sewing machine firms. Recognizing a market opportunity, White began producing complete sewing machines in 1866, rapidly gaining a reputation for quality and durability.
Throughout the late 19th and early 20th centuries, White machines were known for their innovative designs and robust construction. They catered to both home users and the growing ready-to-wear industry. The company expanded its product line, offering a variety of models to meet diverse sewing needs. White machines were particularly celebrated for their smooth operation and ability to handle heavier fabrics.
The brand continued to evolve through mergers and acquisitions, eventually becoming part of the Singer Manufacturing Company. Despite changes in ownership, the legacy of White sewing machines endures, with vintage models highly sought after by collectors and sewing enthusiasts today.
The White brand consistently symbolized superior craftsmanship and reliability within the sewing machine industry. From its inception, Thomas H. White prioritized building machines that were not only innovative but also built to last, fostering a strong reputation among users. This commitment to quality extended beyond the machines themselves, encompassing meticulous attention to detail in every component.
White sewing machines became synonymous with smooth operation and the ability to tackle demanding sewing projects. Their robust construction allowed them to handle a wide range of fabrics, from delicate silks to heavy denim, making them a favorite among both home sewers and professional tailors.
The enduring appeal of White machines is a testament to their lasting quality. Even today, many vintage White sewing machines remain in excellent working condition, continuing to provide years of reliable service, solidifying the brand’s legacy.
Identifying your specific White model is crucial for accessing the correct resources, parts, and instructions for optimal performance and maintenance.
White sewing machines were produced over many decades, resulting in a diverse range of models, each with unique features and capabilities. Determining your exact model is the first step towards successful operation and repair. Begin by carefully examining the front of the machine; many models have a decorative nameplate displaying the model number and sometimes a brief description.
If the nameplate is missing or illegible, look for markings on the back or underside of the machine. These areas often contain stamped or embossed model numbers. Pay close attention to any distinguishing characteristics, such as the type of cabinet it came with (if applicable), the style of the handwheel, or the presence of specific attachments.
Online resources, like dedicated White sewing machine forums and vintage sewing machine databases, can be invaluable. These platforms often allow users to upload photos of their machines for identification assistance from experienced collectors and enthusiasts. Providing clear, well-lit photographs of all sides of your machine will significantly increase the chances of accurate identification.
Once you’ve begun identifying your White sewing machine, pinpointing the model and serial numbers is crucial for accessing specific manuals and parts information. The model number typically indicates the machine’s features and year of manufacture, while the serial number provides a unique identifier for that individual machine.
Generally, the model number is prominently displayed on the machine’s front nameplate. The serial number is often located nearby, sometimes on a separate line or stamped on the underside of the machine base. Look closely – it may be a series of numbers and/or letters.
For older models, the serial number might be hidden under a small cover plate or require removing a panel to access. Document both numbers accurately, as even slight variations can differentiate between similar-looking models. Having these numbers readily available will streamline your search for manuals, replacement parts, and expert advice regarding your specific White machine.
Fortunately, a wealth of resources exists for obtaining White sewing machine manuals, both digitally and in physical form. Numerous websites specialize in vintage sewing machine manuals, offering downloadable PDFs for a small fee or even free of charge. Searching online using your model number is the most effective approach.
Websites like ISMACS (International Sewing Machine Collectors’ Society) are invaluable, often hosting scanned copies of original manuals. Physical manuals can be found through online auction sites, vintage sewing machine dealers, and occasionally, library archives.
If online searches prove fruitless, consider contacting sewing machine repair shops – they may have access to manuals or be able to point you in the right direction. Remember to specify your model and serial number when requesting assistance to ensure you receive the correct documentation for your White sewing machine.
Understanding the key components – from the handwheel to the feed dogs – is crucial for operating and maintaining your vintage White sewing machine effectively.
The handwheel, typically located on the right side of the White sewing machine, is your primary control for precise stitch placement and manual operation. Rotating it clockwise lowers the needle, creating a stitch, while counter-clockwise rotation raises it.
It’s essential for starting and stopping, carefully guiding fabric under the needle, and overcoming particularly thick seams that might strain the motor. Always turn the handwheel towards you; forcing it in the wrong direction can cause damage to the internal mechanisms.
Many White machines feature a handwheel with a textured grip for better control. Remember that each full rotation of the handwheel typically corresponds to one complete stitch; Mastering handwheel control allows for intricate work, accurate pivoting, and a deeper connection with your machine’s operation, ensuring smooth and consistent results.
The bobbin winder on your White sewing machine is crucial for preparing the lower thread, essential for forming the stitch. Typically located on the top or side of the machine, it consists of a winding pin, a tension disc, and a rubber tire driven by the handwheel.
To wind a bobbin, place the thread spool on the spool pin, guide the thread through the tension disc (adjusting for even winding), and then wrap it several times around the bobbin. Engage the winder by moving the bobbin winder lever to the winding position.
As you slowly turn the handwheel, the rubber tire spins, winding the thread onto the bobbin. Once full, the winder will automatically stop. Proper tension is vital – too loose results in uneven winding, while too tight can strain the motor. Regularly check and clean the bobbin winder area for lint and debris.
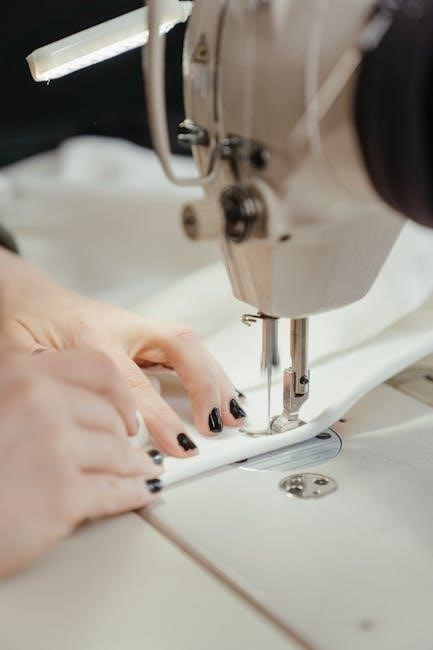
The needle, presser foot, and feed dogs work in harmony to create a stitch on your White sewing machine. The needle, selected based on fabric type, pierces the material, carrying the upper thread to form a loop with the lower thread.
The presser foot holds the fabric firmly against the feed dogs, ensuring consistent movement. Different presser feet are available for specialized tasks like zippers or buttonholes. The feed dogs, located beneath the presser foot, are toothed metal pieces that advance the fabric after each stitch;
Adjusting presser foot pressure is vital; heavier fabrics require more pressure, while delicate fabrics need less. Ensuring the needle is correctly inserted and the presser foot is appropriate for the fabric are key to achieving even, professional-looking stitches. Regular cleaning prevents lint buildup affecting their function.
Proper thread tension is crucial for a balanced stitch on your White sewing machine, and this is controlled by the tension discs and the thread take-up lever. The tension discs maintain consistent pressure on the upper thread, regulating how tightly it’s pulled through the fabric.
Adjusting the tension dial alters the pressure applied by these discs. Too much tension results in a puckered seam, while too little causes looping. The thread take-up lever, moving up and down with the machine, pulls thread from the spool after each stitch, ensuring even distribution.
It prevents slack and maintains consistent stitch formation. Regularly check that the thread is properly seated between the tension discs and that the take-up lever moves freely. Incorrect tension settings are a common cause of sewing issues, so careful adjustment is key.
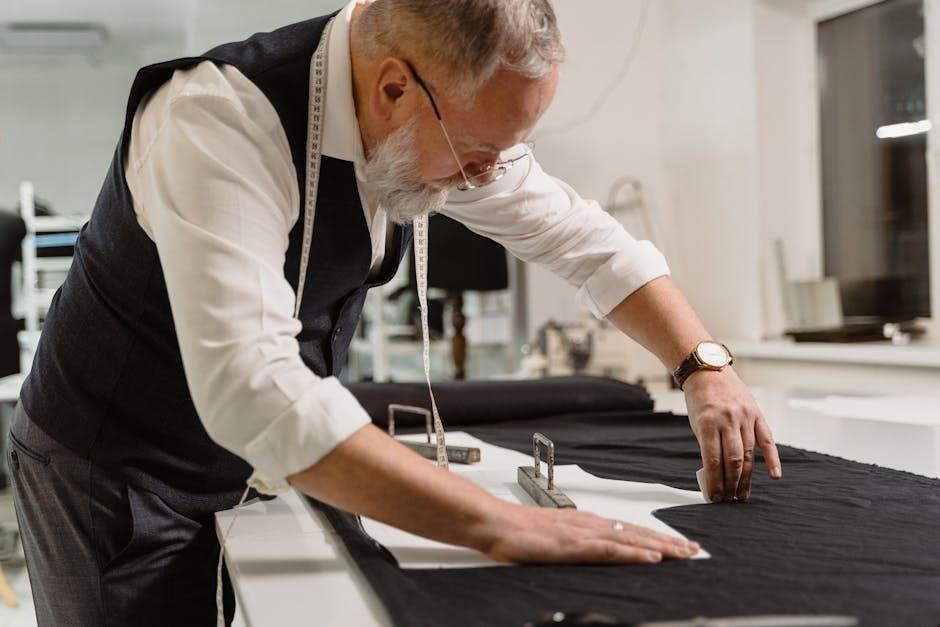
Before beginning your sewing journey with your White machine, familiarize yourself with its core functions to ensure smooth and enjoyable operation every time.
Proper threading is crucial for consistent stitch quality on your White sewing machine. Begin by ensuring the presser foot is raised, as this disengages the tension discs, allowing the thread to seat correctly. Start by guiding the thread from the spool pin, through the first thread guide, and then down to the tension discs – confirm the thread slips between them.
Next, continue threading upwards, following the designated path indicated by the numbered arrows on your machine. This usually involves a series of additional thread guides and potentially a lever. Ensure the thread is securely seated in the take-up lever; this is vital for proper stitch formation. Finally, thread the needle from front to back (or as specified in your model’s manual).
A small thread cutter is often conveniently located near the needle; use it to trim the thread neatly after threading. Always double-check that the thread is correctly positioned in all guides and the take-up lever before commencing to sew. Incorrect threading is a common cause of sewing issues!
Winding the bobbin correctly ensures smooth, even stitching. First, place the spool of thread on the spool pin. Then, guide the thread through the designated thread guides leading to the bobbin winder. Engage the bobbin winder by sliding it to the right (or as indicated by your machine’s markings).
Place an empty bobbin onto the bobbin winder spindle and press the foot pedal gently to begin winding. Most White machines have an automatic stop mechanism; however, monitor the bobbin to prevent overfilling. Once full, disengage the bobbin winder and trim the thread.
To insert the bobbin, open the bobbin case cover. Depending on your model, the bobbin will either drop in or be front-loaded. Ensure the thread unwinds in the correct direction (consult your manual). Finally, guide the thread through the tension spring of the bobbin case before bringing it up through the needle plate.
Adjusting stitch length and width is crucial for achieving desired sewing results. Your White sewing machine features dials or buttons to control these settings, typically located on the front or top of the machine. Stitch length determines the distance between each stitch; shorter lengths are ideal for delicate fabrics and curves, while longer lengths suit heavier materials and basting.
Stitch width controls the zigzag pattern’s breadth. A width of zero creates a straight stitch. Increasing the width produces wider zigzag stitches, useful for finishing raw edges or decorative applications. Always test your settings on a scrap of fabric before starting your project.
Refer to your machine’s manual for specific recommendations based on fabric type and desired effect. Experimentation is key to mastering these controls and achieving professional-looking seams. Remember to readjust settings as needed throughout your sewing process.
Before embarking on your actual project, it’s essential to practice on scrap fabric that closely resembles your intended material. This allows you to familiarize yourself with the machine’s settings and ensure proper stitch formation without risking your final piece. Test different stitch lengths and widths, as well as thread tensions, to achieve the desired look and functionality.
Practice sewing straight lines, curves, and corners. Pay attention to how the fabric feeds through the machine and make adjustments as needed. This step also helps identify any potential issues with threading or bobbin winding. Don’t hesitate to experiment with various techniques and attachments on your scrap fabric.
Consistent practice builds confidence and skill, ultimately leading to more successful and enjoyable sewing experiences with your White machine.
Unlock your machine’s full potential by exploring decorative stitches, mastering advanced presser feet usage, and tackling complex projects with precision and flair.
White sewing machines often boast a versatile range of stitch options beyond the standard straight stitch. Understanding these unlocks creative possibilities and ensures the right stitch for every fabric and project. The zigzag stitch, for example, is invaluable for finishing raw edges, creating buttonholes, and applying stretch fabrics. A satin stitch provides a dense, decorative finish, ideal for appliqué and monograms.
Blind hem stitches offer an invisible finish for hems, while stretch stitches accommodate knit fabrics without puckering. Many models include decorative stitches – shell, scallop, or floral patterns – for embellishment. Buttonhole stitches, often automatic on later models, create perfectly sized buttonholes. Knowing when to employ each stitch is key; heavier fabrics demand stronger stitches, while delicate materials require finer settings. Experimentation with stitch length and width further refines the results, allowing for personalized and professional-looking seams and embellishments. Refer to your machine’s manual for a complete stitch guide and recommended settings.
White sewing machines truly expand their capabilities with a variety of attachments and presser feet. A zipper foot, narrower than the standard foot, allows precise stitching close to zipper teeth. A buttonhole foot automates buttonhole creation on compatible models, ensuring consistent results. The rolled hem foot creates delicate, finished edges on lightweight fabrics, perfect for scarves or napkins.
A gathering foot gathers fabric evenly, ideal for ruffles and decorative details. A quilting foot facilitates even stitch spacing for quilting projects. Beyond these, consider a blind stitch foot for invisible hems, or a darning foot for mending. Correctly attaching the foot is crucial – typically involving a screw-on mechanism. Always consult your machine’s manual for specific attachment instructions. Utilizing the right foot dramatically improves stitch quality and simplifies complex sewing tasks, unlocking a wider range of creative possibilities with your White machine.
White sewing machines, while robust, can occasionally encounter issues. Thread bunching often indicates incorrect threading or tension problems – re-thread the machine and adjust the tension discs. Skipped stitches frequently stem from a dull or incorrectly inserted needle; replace it with a new, appropriate needle for your fabric. If the fabric isn’t feeding properly, check the feed dogs for obstructions or ensure they are engaged.
A broken needle requires immediate attention – stop sewing, remove the broken piece, and install a new needle. Loud noises could signal a need for lubrication; consult the maintenance section of your manual; If the bobbin thread keeps jamming, ensure the bobbin is wound evenly and inserted correctly. Always disconnect the power before attempting any internal adjustments. Refer to your White sewing machine manual for detailed diagrams and specific troubleshooting steps related to your model.
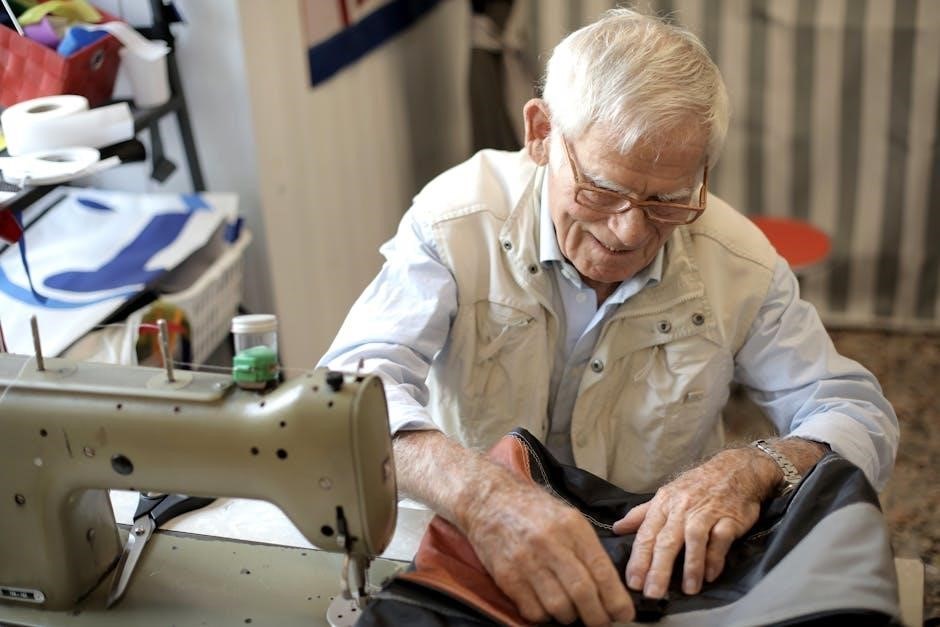
Regular maintenance is crucial for extending the life of your White sewing machine and ensuring optimal performance. Dust and lint buildup can hinder operation, so routinely clean the machine with a soft brush and cloth, paying attention to the bobbin area and feed dogs. Avoid using compressed air, as it can push debris further inside.
Periodically oiling key components – as detailed in your manual – keeps moving parts running smoothly. Use sewing machine oil specifically; other lubricants can cause damage. Inspect the belt for wear and tear, replacing it if it’s cracked or frayed. Always unplug the machine before cleaning or oiling. Following the recommended maintenance schedule in your White sewing machine manual will prevent costly repairs and keep your machine sewing beautifully for years to come.
Consistent care preserves your White sewing machine’s longevity and sewing quality; diligent upkeep, guided by the manual, is absolutely essential for success.
Maintaining a clean sewing machine is paramount for smooth operation and preventing malfunctions. After each use, brush away lint and thread fragments from the bobbin area, feed dogs, and around the needle plate using the brush provided with your machine, or a soft-bristled brush.
Periodically, use a lint roller to remove stubborn lint buildup. For a deeper clean, every few months (or more frequently with heavy use), unplug the machine and gently wipe down the exterior with a slightly damp cloth. Avoid harsh chemicals or abrasive cleaners, as these can damage the finish.
Pay close attention to the tension discs; these can accumulate thread dust. Use a small brush or a cotton swab to carefully clean between them. Refer to your White sewing machine manual for specific cleaning recommendations related to your model, as some parts may require specialized cleaning methods. Remember to always power off and disconnect the machine before any cleaning procedure!
Proper lubrication is crucial for the longevity and smooth functioning of your White sewing machine. Only use sewing machine oil – never household oil or grease – as these can gum up the mechanism. Consult your machine’s manual for specific oiling points, as locations vary by model.
Generally, oiling is required every few months, or more frequently with heavy use. Key areas include the bobbin race, the shuttle hook, and any visible moving parts. Apply a small drop of oil to each point, then operate the machine slowly by hand to distribute the oil evenly.
Avoid over-oiling, as excess oil attracts dust and lint. Wipe away any excess oil with a clean cloth. Some newer models may have sealed bearings that do not require oiling. Always unplug the machine before oiling, and be careful not to get oil on the belt or presser foot.
Replacing a broken or worn belt on your White sewing machine restores power transfer from the motor to the handwheel. First, unplug the machine! Access the belt usually involves removing a cover plate on the machine’s side or back – consult your manual for specifics.
Note the belt’s routing before removal; a photo can be helpful. Carefully remove the old belt, then loop the new belt around the motor pulley and the handwheel pulley, ensuring a snug fit. The belt should not be too tight or too loose.
Reattach the cover plate securely. Before plugging the machine back in, manually turn the handwheel to confirm the belt runs smoothly without slipping. If the belt slips, it may be too loose and require adjustment. Always use a belt specifically designed for your White sewing machine model.
Preparing your White sewing machine for extended storage prevents damage and ensures it’s ready to use when needed. Begin by thoroughly cleaning the machine, removing all lint and dust. Lightly oil all moving parts, following the lubrication guide in your manual.
Loosen the tension on the belt to prevent it from cracking. Cover the machine with a dust cover or place it in a protective case. Store it in a cool, dry place, away from direct sunlight and extreme temperatures. Avoid damp environments, which can cause rust.
Periodically (every 6-12 months) check for any signs of rust or deterioration. Briefly run the machine to redistribute the oil. Proper storage extends the life of your vintage White sewing machine, preserving its functionality for years to come.